
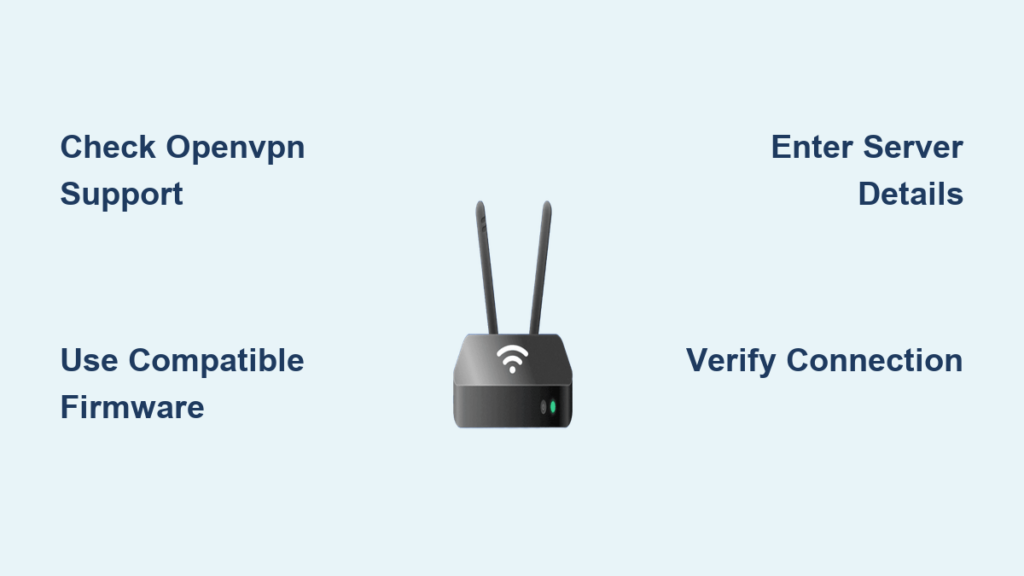
Setting up NordVPN on your router secures every device on your home network, including smart TVs and gaming consoles that lack native apps. This method encrypts your entire internet connection without installing software on each gadget. If you need to learn how to set up NordVPN on router hardware, this guide provides the exact steps.
You will discover how to verify if your current device supports OpenVPN clients or if you need new firmware. We cover manual configuration for ASUS and DD-WRT systems alongside pre-configured alternatives. By following these instructions, you ensure military-grade protection for all connected devices instantly.
Verify Router Compatibility for NordVPN Installation
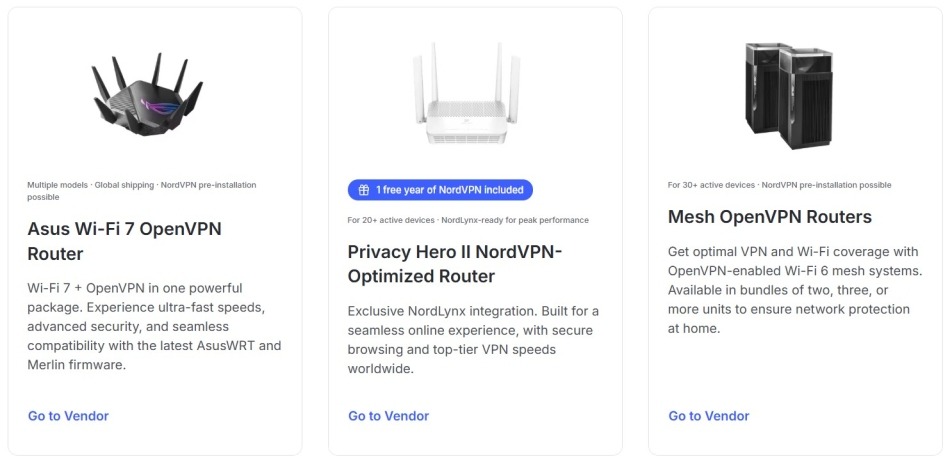
Not every router can run a VPN client, so checking compatibility is your first critical step. ISP-issued devices often block these features, while high-end models from brands like Netgear or TP-Link may support them. You must confirm your hardware meets specific requirements before attempting any configuration changes.
Check for OpenVPN Client Support
Your device must explicitly support the OpenVPN client feature to work with NordVPN. Consult your user manual or the manufacturer’s website to find this specification. Do not confuse “OpenVPN server” with “OpenVPN client,” as only the latter allows your router to connect to NordVPN.
Review Supported Firmware Types
NordVPN officially supports three specific firmware types for manual setup. Your router must run one of the following to proceed:
* ASUS WRT (native factory firmware)
* ASUS Merlin (third-party enhanced firmware)
* DD-WRT (open-source firmware)
If your current firmware is not listed, you may need to flash new software or purchase a compatible device.
Choose Between Manual Setup or Pre-Configured Hardware
You have two distinct paths to secure your network: configuring the software yourself or buying hardware with pre-installed protection. Your choice depends on your technical comfort level and whether you want to use existing equipment.
Use a NordVPN-Ready Router
Save time and avoid complex configuration by purchasing a router with NordVPN built in. FlashRouters, an official partner, sells devices pre-loaded with NordVPN and exclusive features. These units often include:
* Privacy Hero models with NordLynx protocol support
* Optimized firmware for faster speeds
* Plug-and-play security without manual coding
This option eliminates setup errors and is ideal for users who want immediate whole-network protection.
Proceed With Manual Installation
Manual installation allows you to use your current hardware if it supports the required firmware. This path requires downloading configuration files and entering server details by hand. Only choose this method if you have confirmed your router supports OpenVPN client functionality.
Configure NordVPN on ASUS WRT Native Firmware
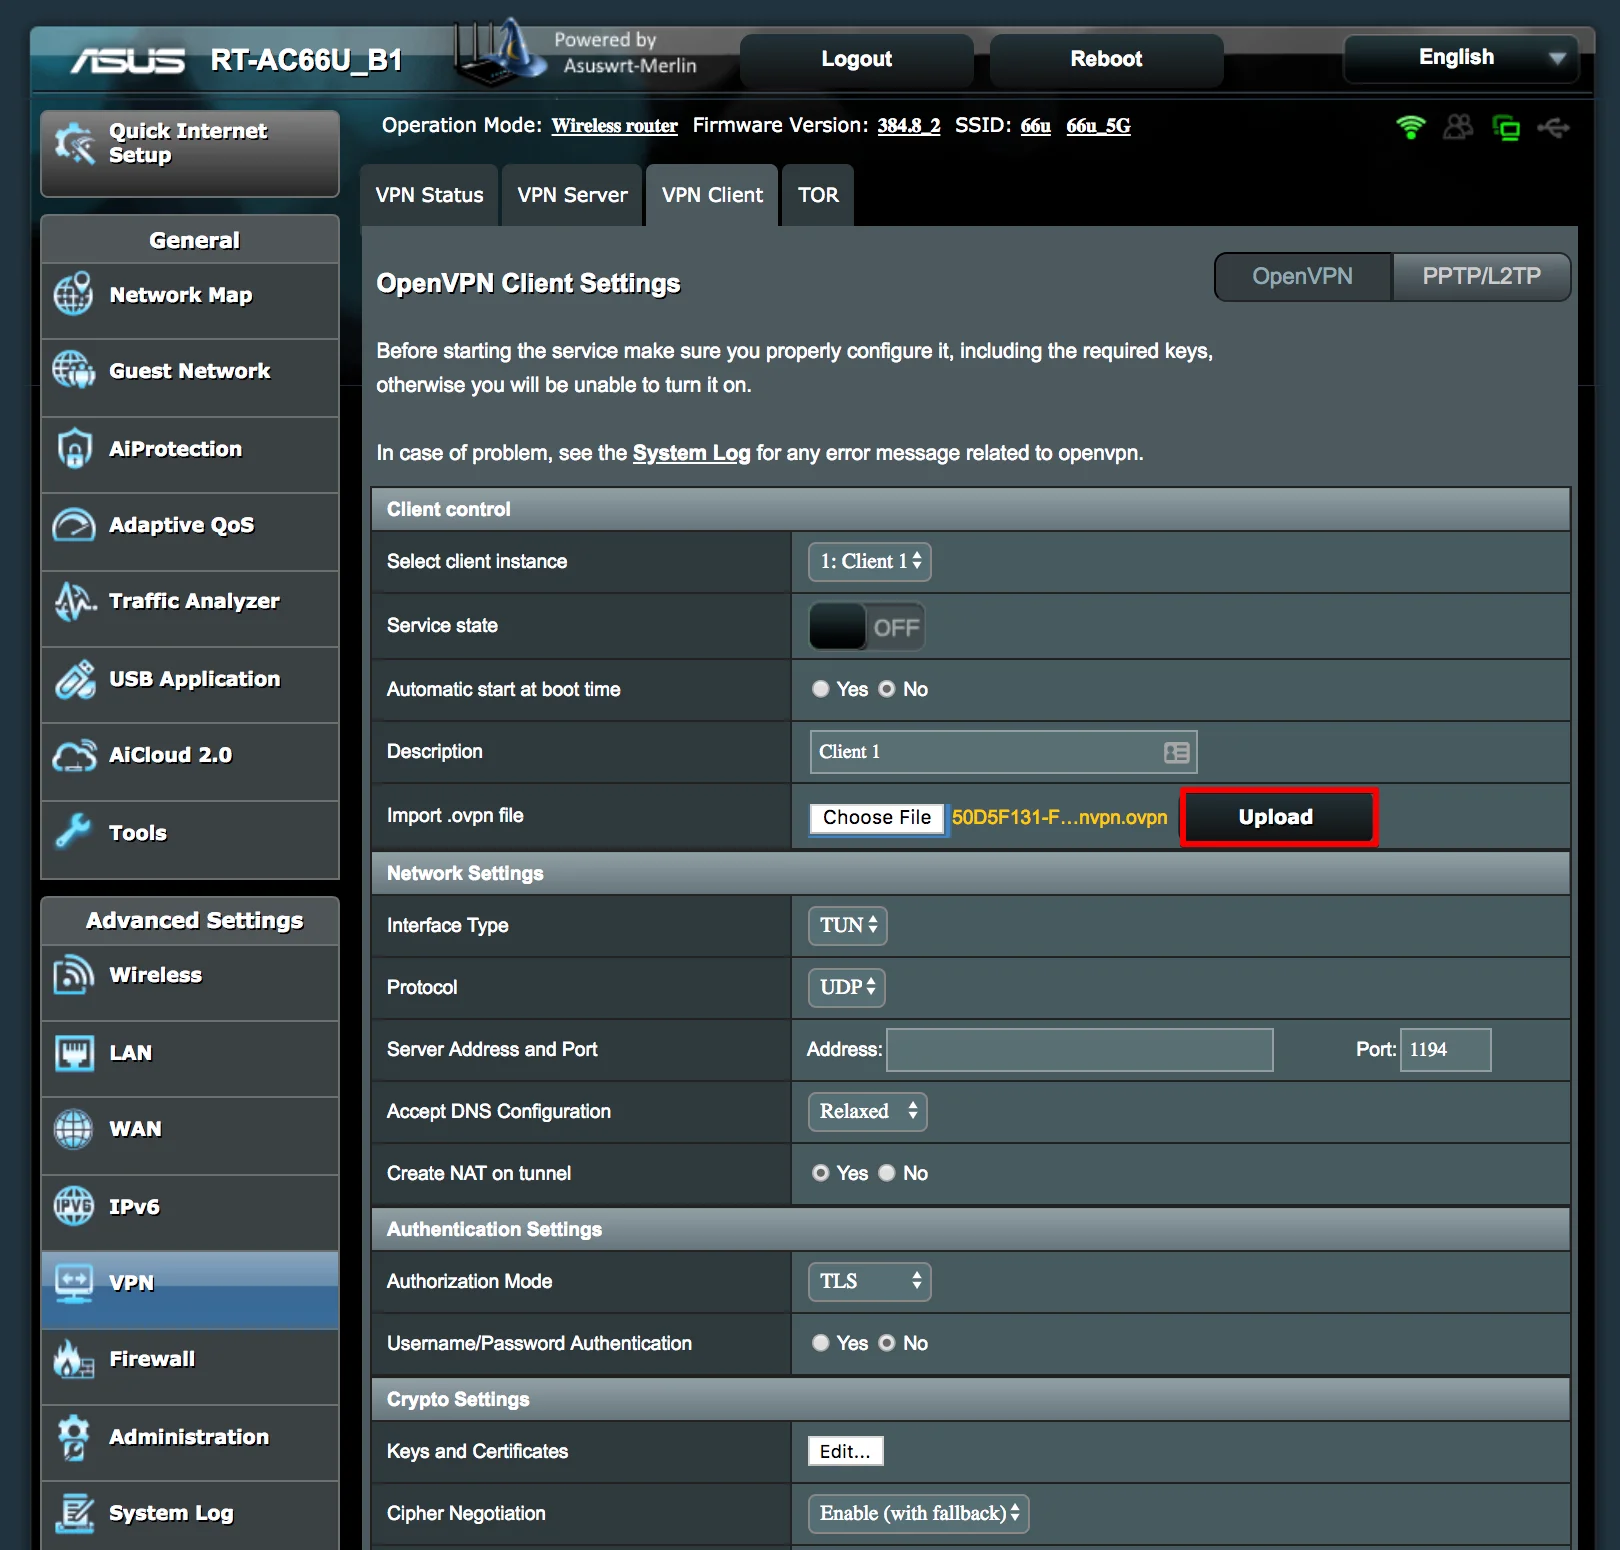
ASUS routers with factory firmware can run NordVPN if they support the OpenVPN client mode. This process involves accessing the admin panel and uploading server files directly.
Access the Router Admin Panel
- Connect your computer to the router via Wi-Fi or Ethernet cable.
- Open a web browser and enter
192.168.1.1in the address bar. - Log in using your admin credentials (default is often
adminfor both fields).
Enable OpenVPN Client Mode
- Navigate to the VPN section in the left menu.
- Select the VPN Client tab.
- Click on OpenVPN and toggle the switch to Enable.
- Choose Custom for the configuration type.
Enter NordVPN Server Details
- Download the specific
.ovpnconfiguration file from the NordVPN server list. - Select a server location close to you for optimal speed and download the TCP version.
- In the ASUS panel, click Browse under “Import .ovpn file” and upload your file.
- Enter your NordVPN service credentials:
- Username: Your NordVPN account email
- Password: The service password generated from your account dashboard
- Click Connect and wait 30 to 60 seconds for the green status light.
Verify Connection Security
Test your setup by visiting a leak test website to confirm your IP address matches the VPN server. Ensure there are no DNS or WebRTC leaks showing your real location. If leaks appear, disable IPv6 in your router settings immediately.
Install NordVPN on ASUS Merlin Firmware
ASUS Merlin is a popular third-party firmware that offers enhanced OpenVPN features for compatible ASUS routers. It provides more control over the connection than native firmware.
Install Merlin Firmware Safely
- Verify your specific model is compatible on the ASUS Merlin website.
- Download the correct firmware version for your hardware revision.
- Go to Administration > Firmware Upgrade in your current interface.
- Upload the file and wait for the installation to complete.
Warning: Flashing firmware voids your warranty and carries a risk of bricking your device. Only proceed if you are experienced with router modifications.
Connect NordVPN via OpenVPN
- Log into the router interface at
192.168.1.1after the reboot. - Navigate to VPN > OpenVPN Client.
- Set the profile to Enabled and select Custom configuration.
- Upload the
.ovpnfile downloaded from NordVPN. - Input your NordVPN username and service password.
- Click Start Now and verify the status shows Connected.
Optimize for NordLynx Protocol
Standard Merlin firmware does not natively support WireGuard or NordLynx. For these faster protocols, you must use a pre-configured FlashRouter or alternative firmware like FreshTomato. Otherwise, stick with the stable OpenVPN protocol for full compatibility.
Set Up NordVPN on DD-WRT Routers
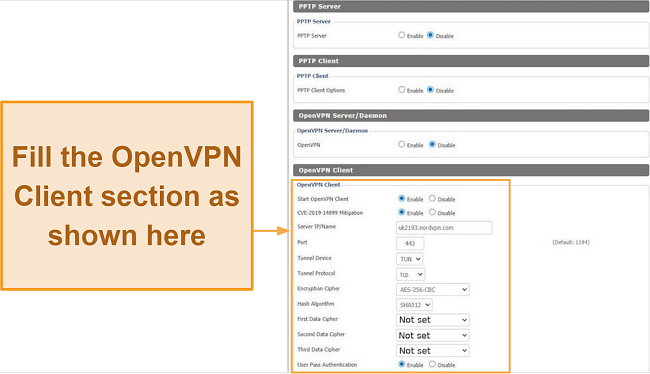
DD-WRT is a powerful open-source firmware widely used for VPN configurations. It requires precise entry of server parameters to function correctly with NordVPN.
Confirm DD-WRT Version Supports OpenVPN
Ensure your router runs DD-WRT v3.0 or later with “VPN” in the build name. Older versions or mini builds often lack the necessary OpenVPN client features. Check the firmware version on the main status page before proceeding.
Enable OpenVPN Client Settings
- Go to the Services tab and select VPN.
- Scroll down to the OpenVPN Client section.
- Set Start OpenVPN Client to Enable.
Input NordVPN Configuration Parameters
Enter the following details exactly as shown in your NordVPN account:
* Server IP/Name: The specific NordVPN server address (e.g., us1234.nordvpn.com)
* Port: 1194 (default) or 443 for TCP
* Tunnel Device: TUN
* Tunnel Protocol: UDP (switch to TCP if blocked)
* Encryption Cipher: AES-256-CBC
* Hash Algorithm: SHA512
* LZO Compression: Adaptive
* TLS Authentication: Enable and paste the TLS key from the .ovpn file
Add Authentication Credentials
- Enter your NordVPN email as the username.
- Use the service password generated from your account dashboard.
- Paste the contents of the
<ca>section from the.ovpnfile into the CA Cert field. - Click Apply Settings and then Start Now.
Check the Status > OpenVPN tab to ensure the state reads CONNECTED.
Troubleshoot Common NordVPN Router Issues
Even with correct settings, you might encounter connection hurdles during setup. These common issues usually have simple fixes involving DNS or protocol settings.
Resolve No Internet After Connecting
This issue often stems from DNS conflicts or routing errors. Set your DNS manually to NordVPN addresses like 103.86.96.100 and 103.86.99.100. Disabling IPv6 in your router settings can also resolve connectivity drops.
Fix Connection Failures to Server
If the router cannot connect, verify you are using the correct server hostname and service password. Try switching from UDP to TCP on port 443, which mimics standard web traffic and bypasses strict firewalls.
Address Frequent Disconnects
Frequent drops may indicate weak router hardware or overheating problems. Reboot your router daily to clear memory leaks. If the problem persists, consider upgrading to a more powerful device designed for VPN throughput.
Secure All Devices With Router-Level Protection
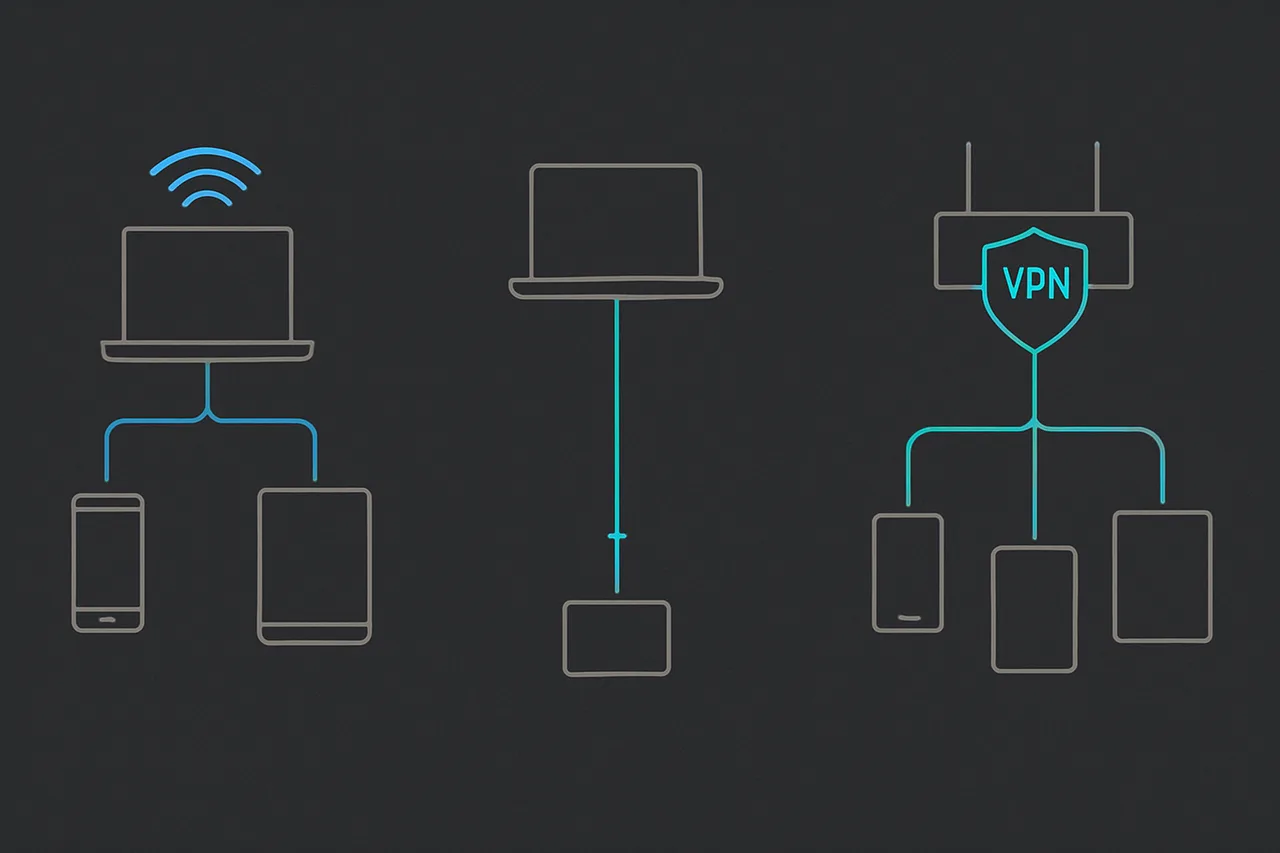
Once configured, your NordVPN router protects every device that connects to your Wi-Fi. This includes smart home gadgets, streaming sticks, and gaming consoles that cannot run VPN apps themselves.
Benefits of Whole-Network Encryption
- Smart TVs: Bypass geo-blocks on Netflix and BBC iPlayer effortlessly.
- Gaming Consoles: Secure online play on PS5, Xbox, and Switch.
- IoT Devices: Protect cameras and doorbells from data snooping.
You eliminate the need to install individual apps on every single device in your home.
Understand Limitations
Be aware that all devices share the same exit IP address when using a router. You cannot select different server locations for different devices simultaneously. Additionally, encryption overhead may slightly reduce your maximum internet speed.
Maintain and Update Your NordVPN Router
Regular maintenance ensures your network remains secure and performs well over time. Neglecting updates can leave vulnerabilities open to exploitation.
Reconnect After Power Outages
Some routers do not automatically reconnect to the VPN after a reboot. Enable the Auto-Reconnect feature in your OpenVPN settings if available. Alternatively, use a smart plug to remotely reboot the device if the connection drops.
Update Firmware Regularly
Check for firmware updates every three to six months. Updates patch security vulnerabilities and improve OpenVPN stability. Always back up your current settings before applying a new firmware version.
Rotate NordVPN Servers
Change your server location periodically to optimize speed or privacy. Use the NordVPN website to download new .ovpn files for less crowded locations. Regular speed tests help you identify the best performing servers for your area.
Contact Support If Stuck
NordVPN offers dedicated assistance if you cannot complete the setup on your own. Their team can help diagnose configuration errors or hardware incompatibilities.
Live Chat Support
Use the live chat feature for real-time assistance with your setup. This is the fastest way to resolve issues and is available 24/7. You can access the chat directly from the NordVPN support page.
Email Support
Submit a detailed email request if you prefer written communication. Include your router model, firmware version, and screenshots of your settings. The support team typically responds within 24 hours to help solve your problem.
Frequently Asked Questions About Setting Up NordVPN on Routers
Can I install NordVPN on any router?
No, your router must support the OpenVPN client feature to work with NordVPN. Most ISP-provided routers do not support this, but many ASUS, Netgear, and Linksys models do. You must check your specific model specifications or firmware capabilities first.
Does setting up NordVPN on a router slow down internet speed?
Yes, encryption adds overhead that can reduce your total throughput. The speed impact depends on your router’s processor power and the distance to the VPN server. Using a router with a strong CPU minimizes this speed reduction significantly.
How do I find my NordVPN service password for the router?
You must generate a specific service password from your NordVPN account dashboard. Do not use your standard login password. Go to the NordVPN website, log in, and find the “Service Password” section to create or view this credential.
Will NordVPN on a router work with Smart TVs?
Yes, once the router is configured, all devices connected to it are protected automatically. This includes Smart TVs, Apple TV, Roku, and gaming consoles that cannot run VPN apps natively. They will all route traffic through the encrypted tunnel.
What firmware is best for NordVPN router setup?
ASUS WRT native firmware and DD-WRT are the most reliable options for manual setup. ASUS Merlin offers advanced features for experienced users. If you want the fastest speeds, consider a pre-configured router that supports the NordLynx protocol.
Key Takeaways for Setting Up NordVPN on Your Router
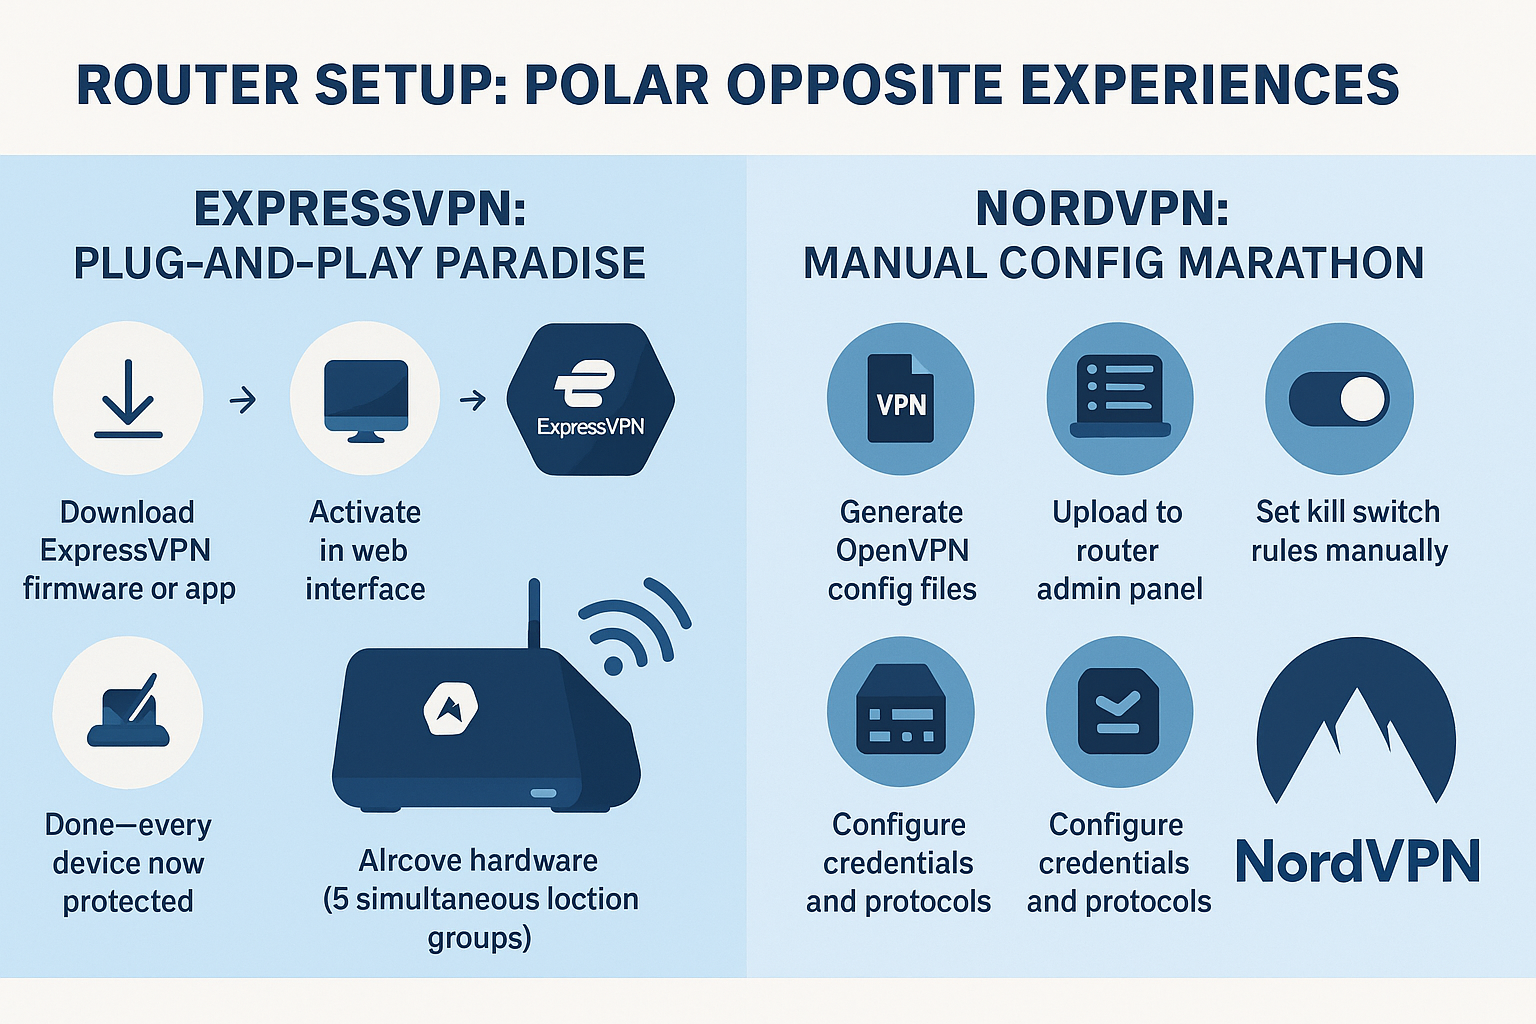
Securing your entire home network requires verifying that your router supports OpenVPN client functionality before starting. You can manually configure ASUS or DD-WRT devices using specific server files, or choose a pre-configured router for instant protection. Regular firmware updates and proper DNS settings ensure your connection remains stable and secure.
Take action today by checking your router model against the supported list. If your current device lacks compatibility, consider upgrading to a VPN-ready router to protect all your smart devices immediately.



