
Setting up a Google Nest Wifi router transforms dead zones into a seamless mesh network using just your smartphone. Whether you have the standard Nest Wifi or the new Pro model, the process relies entirely on the Google Home app to guide you through every step quickly.
This guide details exactly how to connect your hardware, configure network settings, and add extra points for maximum coverage. You will learn specific troubleshooting steps to fix common detection errors and ensure your internet runs smoothly from day one.
Verify Device Compatibility and Requirements
Before unboxing your equipment, you must confirm that your specific hardware models work together. Mixing incompatible generations breaks the mesh network functionality and prevents proper setup.
Check Model Restrictions for Mesh Networks
Nest Wifi Pro units use Wi-Fi 6E technology and cannot combine with older Nest Wifi or Google Wifi points in the same system. You must use all Pro units together or stick to the standard Nest Wifi and Google Wifi ecosystem. Purchasing devices intended for your specific country ensures compliance with local wireless regulations and guarantees support eligibility.
Gather Essential Tools and Mobile Devices
You need specific items ready before starting the physical installation process.
• A Nest Wifi router or Nest Wifi Pro router
• A modem with an active internet service connection
• The Ethernet cable included in your box
• An Android device running 9.0 or later
• An iPhone or iPad running iOS 17.0 or later
• The latest version of the Google Home app
Prepare Your Mobile Device for Setup
Ensure your phone or tablet has the Google Home app installed and updated. If you use an iPhone with a Virtual Private Network (VPN), you must disable it in your settings temporarily. The app cannot detect the router if the VPN masks your local network connection during the pairing process.
Position and Connect Your Router Hardware

Physical placement directly impacts signal strength and overall network performance throughout your home. Proper positioning avoids interference from walls and electronic devices that disrupt wireless signals.
Select the Optimal Location
Place your router in a central location rather than tucking it away in a corner or cabinet. Elevate the unit on a shelf and keep it away from thick concrete walls, metal objects, microwaves, and cordless phones. Proximity to your modem is necessary for the initial Ethernet connection, but central placement helps distribute Wi-Fi evenly.
Plug In the Router and Modem
Follow these steps to establish the physical link between your internet service and the new router.
1. Connect one end of the Ethernet cable to the LAN port on your modem.
2. Plug the other end into the WAN port located on the bottom of your Nest Wifi router.
3. Insert the power adapter into the router and plug it directly into a wall outlet.
4. Avoid using power strips or surge protectors during the initial setup phase.
Identify Readiness Light Indicators
Wait approximately sixty seconds for the device to boot up and display a status light. A slowly pulsing blue light indicates a Nest Wifi Pro is ready, while a pulsing white light signals a standard Nest Wifi router is ready. If no light appears, check your power connection or perform a factory reset by holding the reset button for ten seconds.
Initialize Setup Using the Google Home App
The Google Home app serves as the command center for configuring your network settings and managing connected devices. You cannot complete the setup process using a web browser or computer interface.
Create or Select Your Home Profile
Open the Google Home app and sign in with your primary Google account. If this is your first time using the app, tap “Set up a home” and follow the prompts to name your residence. Using the same account for all smart home devices ensures seamless integration and easier management later.
Add Your New Device to the App
Tap the plus icon in the top right corner and select “Device” followed by “Set up device.” The app will search for nearby hardware, and you should see your Nest Wifi router listed. If the device appears automatically, tap “Set up” to begin the pairing process immediately.
Scan QR Code or Enter Manual Setup Code
Hold your phone camera over the QR code found on the bottom of your router until a checkmark confirms the scan. If the camera fails to read the code, select “Use setup code” and type the alphanumeric string printed below the QR code. Wait for the app to connect to the router, which may take a minute to complete.
Configure Network Name and Security Settings
Once the app connects to the hardware, you will define the identity and security parameters for your new wireless network. These settings determine how your devices find and join the internet.
Name Your Wi-Fi Network and Create Password
Enter a descriptive name for your network (SSID) and create a strong password. Reusing the exact network name and password from your old router is highly recommended so your existing phones, tablets, and smart home gadgets reconnect automatically without manual intervention. Avoid using special characters in your password as some older devices may struggle to authenticate.
Assign the Router to a Specific Room
Select the room where your router is physically located from the list provided in the app. This organization helps you identify devices later and enables room-specific voice commands if you use Google Assistant speakers. The app will now create your network, a process that typically takes between two to five minutes.
Wait for Network Creation to Complete
Do not unplug or restart the router while the app displays the “Creating your Wi-Fi network” message. The light on the router may pulse or change colors during this time as it downloads necessary firmware updates. Once finished, the app confirms your network is live and ready for additional configuration.
Expand Coverage with Additional Mesh Points
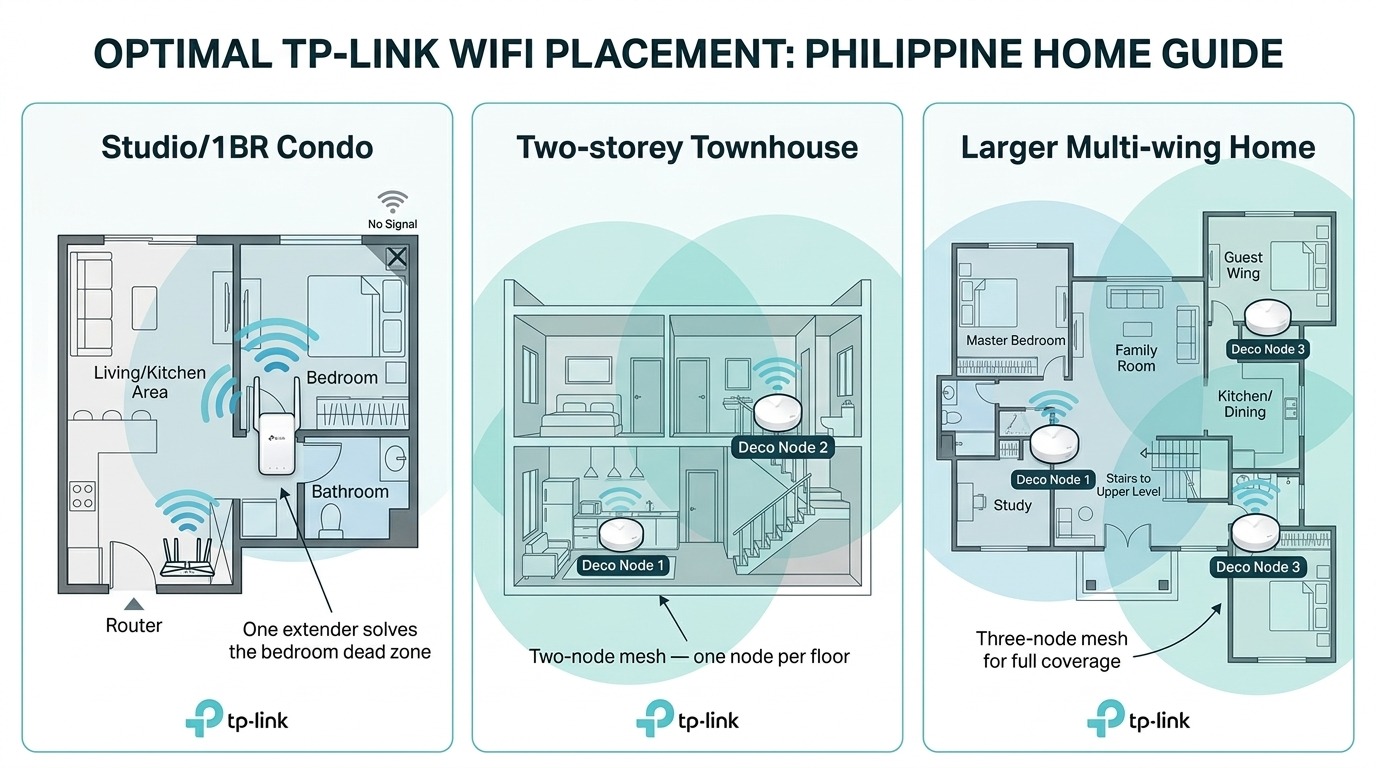
Adding extra points eliminates dead zones in large homes or buildings with thick walls that block wireless signals. These additional units communicate with the main router to extend coverage seamlessly.
Place Points Strategically Throughout Your Home
Plug your additional Nest Wifi points or secondary routers into wall outlets in areas with weak signals. Ensure they are within range of the main router but not so close that they cause interference. Avoid placing them inside cabinets or behind televisions to maintain optimal signal transmission.
Add Points Through the App Interface
Tap the “Add” button in the Google Home app and select “Device” to start the process for each new unit. Scan the QR code on the new point and follow the on-screen instructions to pair it with your existing network. The app automatically assigns the best channel and settings for each point to maximize performance.
Run a Mesh Test to Verify Connection Quality

After adding all your devices, the app performs a mesh test to check signal strength between units. This diagnostic tool identifies if any points are too far apart or experiencing interference from obstacles. Reposition any points that show weak connections to improve overall network stability and speed.
Troubleshoot Common Setup and Connection Issues
Even with careful planning, you might encounter detection failures or connection drops during the installation process. Addressing these specific issues quickly gets your network back on track.
Resolve App Detection Failures
If the Google Home app cannot find your router, restart both your phone and the router. Ensure your mobile device is connected to the correct Wi-Fi band, as some older phones struggle with 5 GHz-only connections during setup. Try switching to a different mobile device, such as moving from an iPhone to an Android tablet, to rule out phone-specific compatibility glitches.
Fix Stalled Setup or No Light Indicators
A lack of light usually indicates a power issue or a need for a factory reset. Hold the reset button on the bottom of the unit for ten seconds to clear previous configurations. If your internet service provider uses VLAN tagging, you may need a compatible modem or a managed switch to handle the connection properly.
Address Weak Signal or Performance Drops
Poor coverage often results from placing points too far apart or near heavy interference sources. Move your points closer together, ideally within thirty feet of each other, and remove physical obstructions like metal filing cabinets. Use the signal strength indicators in the Google Home app to find the sweet spot for each device.
Frequently Asked Questions About Google Nest Wifi Setup
Can I mix Nest Wifi Pro with older Google Wifi points?
No, Nest Wifi Pro units use Wi-Fi 6E technology and cannot form a mesh network with older Nest Wifi or Google Wifi devices. You must use all Pro units together or keep them on separate networks to ensure functionality.
What mobile operating system versions do I need for setup?
You need an Android device running version 9.0 or later or an iPhone and iPad running iOS 17.0 or later. Ensure your Google Home app is updated to the latest version available in your app store.
Why does my iPhone fail to detect the router during setup?
This often happens if a VPN is active on your iPhone, so disable it in your settings before starting. You must also grant the Google Home app permission to access your local network when prompted by iOS.
How long does the initial network creation process take?
Creating your Wi-Fi network and downloading updates typically takes between two to five minutes. Do not unplug the router during this time to prevent corruption of the configuration files.
What should I do if the router light does not turn on?
Check that the power adapter is firmly plugged into both the router and the wall outlet. If the light still does not appear, perform a factory reset by holding the reset button for ten seconds.
Key Takeaways for Setting Up Your Google Nest Wifi Router

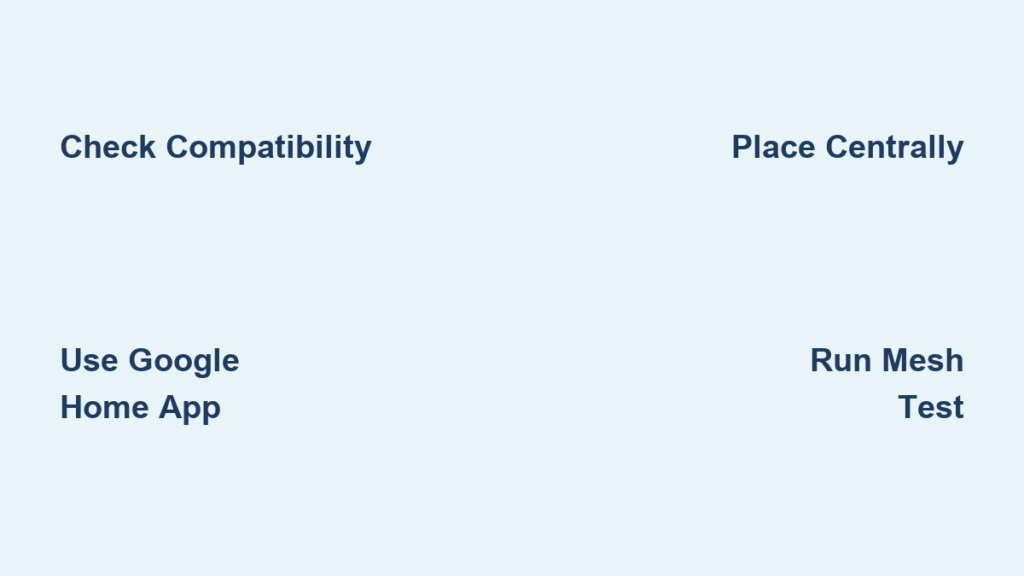
Successfully installing your Google Nest Wifi router requires checking model compatibility, placing hardware centrally, and following the Google Home app prompts precisely. Remember that Nest Wifi Pro units cannot mix with older generations, and disabling VPNs on iPhones is crucial for detection.
Your new mesh network will provide reliable coverage once you position points strategically and run the built-in mesh test. Open the Google Home app today to begin your setup and enjoy fast, seamless internet throughout your entire home.



