
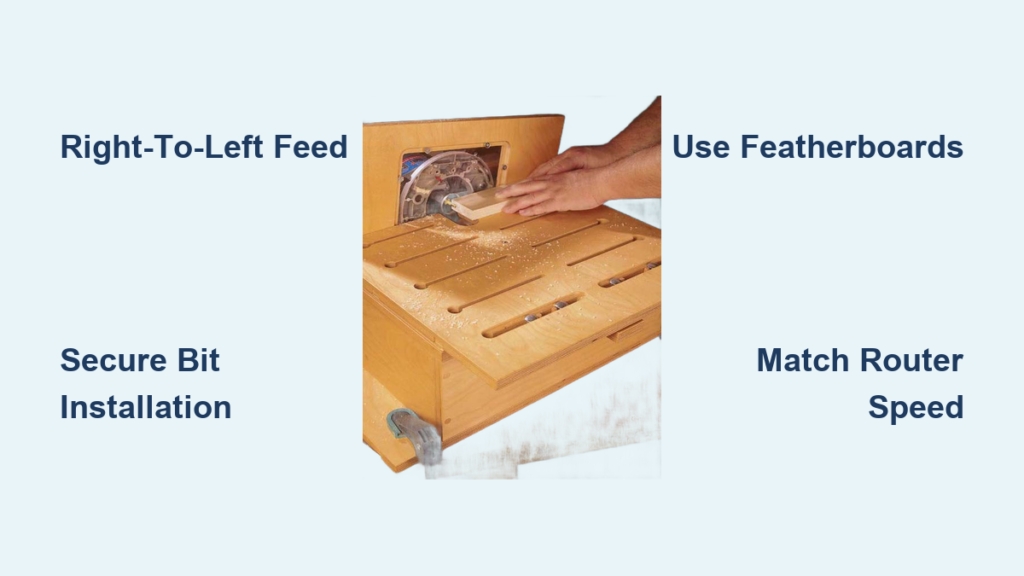
Struggling to control small wood pieces or cut clean grooves with a handheld tool often leads to frustration and unsafe conditions. Learning how to use a table router solves these issues by converting your portable router into a stable, precision stationary machine.
This guide details the exact setup steps, critical safety rules, and five advanced techniques you need to master. You will discover how to feed wood correctly, select the right accessories, and execute complex profiles with total confidence.
Install and Align Your Router Table Components

Proper installation forms the foundation of every safe and accurate cut. Skipping alignment steps often results in tearout, inconsistent profiles, or dangerous kickback situations.
Secure the Bit Correctly
Installing the cutting bit requires strict adherence to a specific sequence to ensure the collet grips the shank tightly.
1. Lock the motor shaft using the spindle lock button.
2. Insert the bit shank fully into the collet until it bottoms out.
3. Pull the bit back slightly, about the thickness of a coin, to relieve internal tension.
4. Hand-tighten the collet nut securely without over-torquing.
5. Set the bit height low initially, then raise it to the final depth after testing.
Never skip the pull-back step, as it prevents collet deformation and ensures a firm grip that reduces vibration.
Align the Fence and Throat Plate
The fence must guide the workpiece parallel to the bit rotation for consistent results.
* For bearing-guided bits, align the movable fence section so the bearing rides flush against it.
* Use a ruler to confirm both sides of the fence are perfectly parallel.
* Install a throat plate with a snug opening around the bit to prevent small offcuts from falling into the mechanism.
Replace worn throat plates immediately or create zero-clearance inserts from scrap wood for delicate materials.
Connect Dust Extraction Systems
Most router tables feature a vacuum port located under the main table surface. Attach your shop vac or dust collector hose before powering on the tool.
* This setup captures up to 80% of chips and fine dust at the source.
* Clear the hose frequently to maintain strong suction power.
* A clean table provides better visibility and prevents debris from interfering with the cut path.
Master the Critical Right-to-Left Feed Direction
Understanding rotation dynamics is the single most important safety factor when switching from handheld to table-mounted routing. The bit spins counterclockwise when viewed from above, which is opposite to handheld operation.
Why Rotation Matters
You must always feed the workpiece from right to left across the table. This direction ensures the cutting edge engages the wood properly and pulls the material firmly against the fence. This engagement provides the control necessary for smooth, safe cutting.
Dangers of Feeding Left to Right
Feeding against the proper direction turns the spinning bit into a high-speed ejection system. Instead of pulling the wood through, the bit grabs the leading edge and throws the workpiece backward violently. This kickback can cause serious injury or significant equipment damage.
Pro Tip: Mark the correct feed direction on your table with bright tape or a permanent label. New users often forget this crucial rule under pressure.
Visual Cues for Proper Engagement
Watch the chip formation closely to verify your technique.
* Smooth, consistent curls indicate correct feed direction and speed.
* Dust or burn marks suggest you are feeding too slowly.
* Chatter or vibration may indicate dull bits or incorrect RPM settings.
Always perform test cuts on scrap wood before working on your final project piece.
Deploy Essential Safety Accessories
Safety accessories are not optional additions but necessary components for precise routing operations. They apply consistent pressure and keep your hands far from the spinning cutter.
Apply Pressure with Featherboards
Featherboards keep the workpiece flat against the table and tight against the fence.
* Mount one in the miter slot just before the bit to apply lateral pressure.
* Add a second featherboard above the table to press down and prevent lifting.
* Adjust tension so the board moves smoothly but cannot shift side-to-side.
Over-tightening causes binding, while loose settings allow the wood to drift during the cut.
Keep Hands Clear with Push Sticks
Never feed material within six inches of the bit using bare hands.
* Push sticks work well for guiding narrow strips safely.
* Push blocks offer more surface contact and downward force for wider boards.
Make your own from hardwood with exact 90-degree angles and label them to indicate they have been inspected.
Prevent Blowout with Backing Blocks
Routing end grain often causes splintering at the exit point without proper support. Solve this with a simple MDF backing block.
1. Drill a hole slightly larger than your bit diameter.
2. Glue a small wood block to the front for added support.
3. Clamp it snugly against the fence behind the cut area.
This supports wood fibers as they exit the cut, eliminating tearout completely.
Match Router Speed to Bit Size
:max_bytes(150000):strip_icc()/sm-chart-eecb71c6ca0849818caefa94afc840b3.jpg)
Running the wrong speed risks burning the wood, causing chatter, or leading to catastrophic bit failure. Larger bits generate higher tip speeds even at lower RPMs.
Follow RPM Guidelines
Consult the manufacturer’s recommended speed for each specific bit type.
* 1-inch wavy bits: Run at approximately 20,000 RPM.
* Straight bits: Can operate safely up to 25,000 RPM.
* Large panel-raising bits: Require slower speeds between 12,000 and 16,000 RPM.
Always adjust the variable speed dial while the tool is unplugged to prevent accidental startup.
Adjust Speed Before Powering On
Set the router speed before plugging it in, then let the bit reach full speed before feeding material. Use a tachometer if you are unsure of the exact RPM, or listen for smooth operation without loud whining.
Execute Five Advanced Routing Techniques
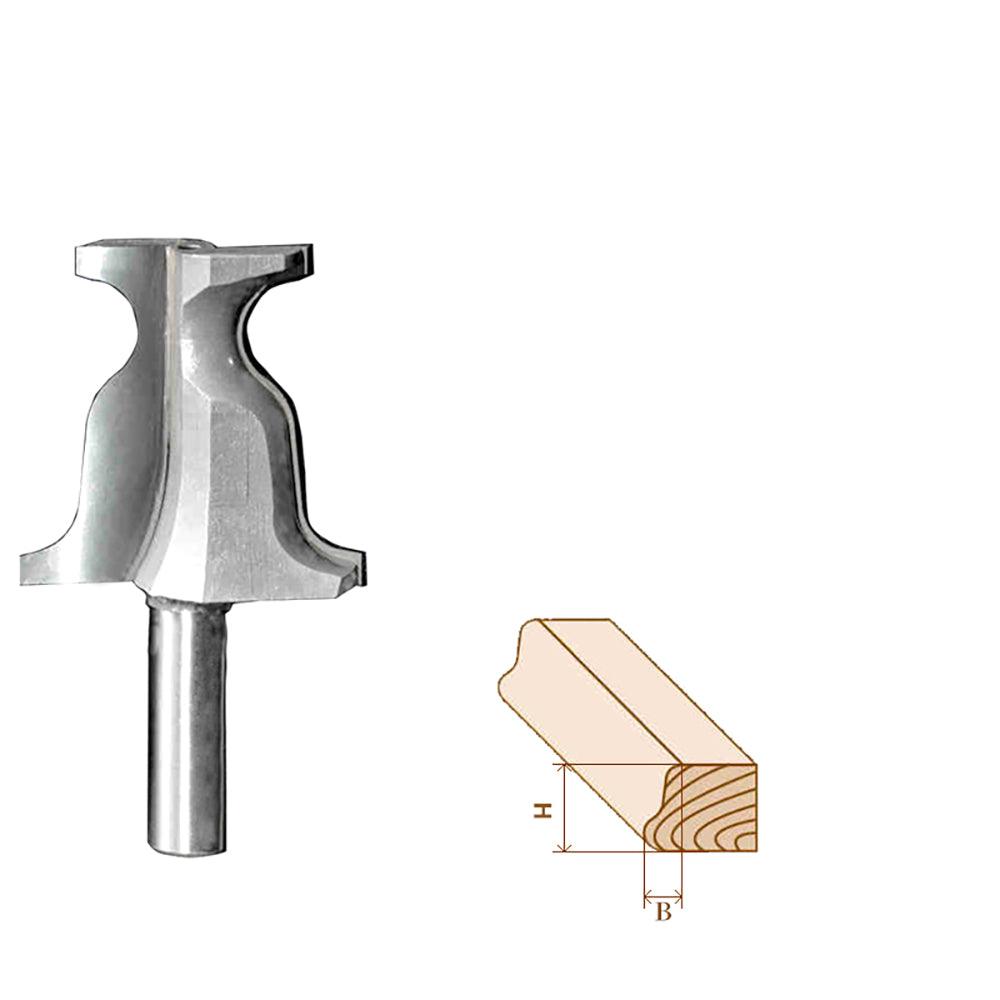
Once you master the basics, these specialized techniques expand your workshop capabilities significantly. Each method relies on precise setup and correct feed direction.
Create Custom Trim with a Wavy Bit
Generate unique molding profiles that are unavailable in stores using a 1-inch wavy bit. Feed mahogany or softwood from right to left, running both faces of the stock to create symmetrical waves. Mark ends with a pencil for alignment on the table saw later to achieve professional-grade trim.
Turn Square Stock Into Dowels
Convert square stock into smooth, round dowels using a roundover bit. Use a bit radius equal to half the final dowel diameter, such as a half-inch bit for a one-inch dowel. Mark safety zones on the stock, feed right to left until the trailing end hits your stop mark, then rotate the stock 90 degrees and repeat for four passes.
Joint Edges Like a Professional
Transform your router table into a jointer for straight, flat edges using a bottom-bearing pattern bit. Attach a thin strip of Formica to the outfeed side of the fence and sand the edge slightly rounded. Mount the bit so the bearing rides on the Formica, then run the board edge past the bit for a perfectly straight result.
Duplicate Complex Shapes Exactly
Make identical parts like table legs with perfect consistency using a pattern bit. Cut a master pattern from quarter-inch hardboard, tape it to a rough-cut blank, and trim within one-sixteenth of an inch. Feed the blank from right to left, letting the bearing follow the hardboard pattern to remove excess material.
Cut Grooves and Rebates Precisely
Grooves and rebates are fundamental joinery cuts easy to execute on a router table. Use a straight twin-flute bit for grooves, setting the fence to determine width. For rebates, set the fence to the desired shoulder width so waste is pushed directly into the dust port for superior control.
Maintain Safety and Performance Standards
Regular maintenance ensures your router table remains safe and produces high-quality results over time. Neglecting these checks can lead to poor performance or dangerous situations.
Wear Proper PPE
Always wear safety glasses or a face shield and hearing protection, as router tables are loud. Wear close-fitting clothing with no loose sleeves or gloves, and keep long hair tied back securely.
Unplug During Adjustments
Never change bits, adjust depth, or realign the fence while the router is plugged in. One accidental bump of the switch can be disastrous. Use a lockout tag if working in shared shops to prevent others from powering the tool.
Check Bit Condition Regularly
Dull or chipped bits require more force, cause burning, and increase kickback risk. Clean resin buildup with commercial bit cleaner and replace bits showing signs of wear or imbalance immediately.
Frequently Asked Questions About Table Routers
What is the correct feed direction for a table router?
You must always feed the workpiece from right to left. This direction ensures the counterclockwise spinning bit pulls the wood against the fence rather than throwing it backward.
How do I prevent tearout when routing end grain?
Use a backing block made of MDF with a hole slightly larger than the bit. Place it snugly against the fence to support wood fibers as they exit the cut.
What speed should I use for large diameter bits?
Large bits like panel raisers require slower speeds between 12,000 and 16,000 RPM to prevent overheating and dangerous vibrations.
Can I use a standard miter gauge in the router table slots?
No, the miter slots on router tables are designed specifically for securing featherboards and jigs, not for standard miter gauges.
How do I duplicate a complex shape multiple times?
Create a master pattern from hardboard, attach it to your blank with double-stick tape, and use a pattern bit with a bearing to trace the shape exactly.
Key Takeaways for Using a Table Router Safely
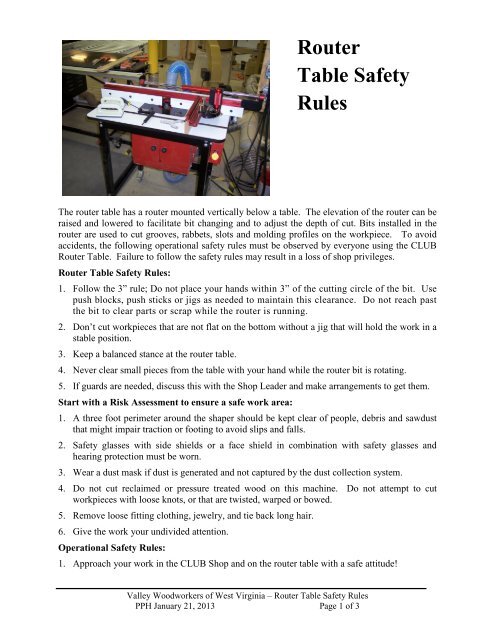
Mastering how to use a table router transforms your woodworking by providing unmatched precision and safety for complex tasks. Remember to always feed wood from right to left, match your router speed to the bit size, and use featherboards to keep hands clear of the cutter.
Start with simple edge profiles on scrap wood before attempting advanced joinery or custom trim projects. With proper setup and strict adherence to safety protocols, your router table will become the most versatile station in your workshop.



