Is your smart TV, gaming console, or IoT device leaving your home network exposed? A proper NordVPN router setup encrypts traffic for every connected device instantly, eliminating the need to install individual apps on each gadget.
This guide details how to verify compatibility, configure OpenVPN on supported firmware like ASUS WRT and DD-WRT, and troubleshoot common connection errors. You will learn to secure your whole home network with military-grade encryption in just a few steps.
Verify Router Compatibility Before You Start
Not every router can run a VPN client, so checking specifications is your first critical step. Most internet service provider (ISP) issued routers lack the necessary firmware features to support third-party VPN connections.
Check for OpenVPN Client Capability
Your hardware must explicitly support the OpenVPN client mode to function with NordVPN. Look through your device manual or search the manufacturer’s website using your specific model number.
- Search the PDF manual for “OpenVPN client” or “VPN client mode.”
- Verify the feature exists in the advanced settings or security sections.
- Confirm the device is not locked by your ISP, as these rarely allow manual configuration.
Brands like ASUS, Netgear, and TP-Link often include this feature, but only on specific models. If your current device lacks this support, you cannot proceed with a manual NordVPN router setup on that specific hardware.
Options for Unsupported or ISP-Issued Routers
If your router does not support OpenVPN, you have two main paths forward. You can purchase a new compatible router or opt for a pre-configured solution that works out of the box.
NordVPN partners with FlashRouters to provide devices with the VPN pre-installed. The Privacy Hero model features exclusive NordLynx protocol support, offering speeds up to three times faster than standard OpenVPN connections.
Configure ASUS WRT Native Firmware
ASUS routers with stock firmware offer one of the most straightforward paths to a secure network. This native support allows you to connect directly without installing extra software.
Step-by-Step Configuration Process
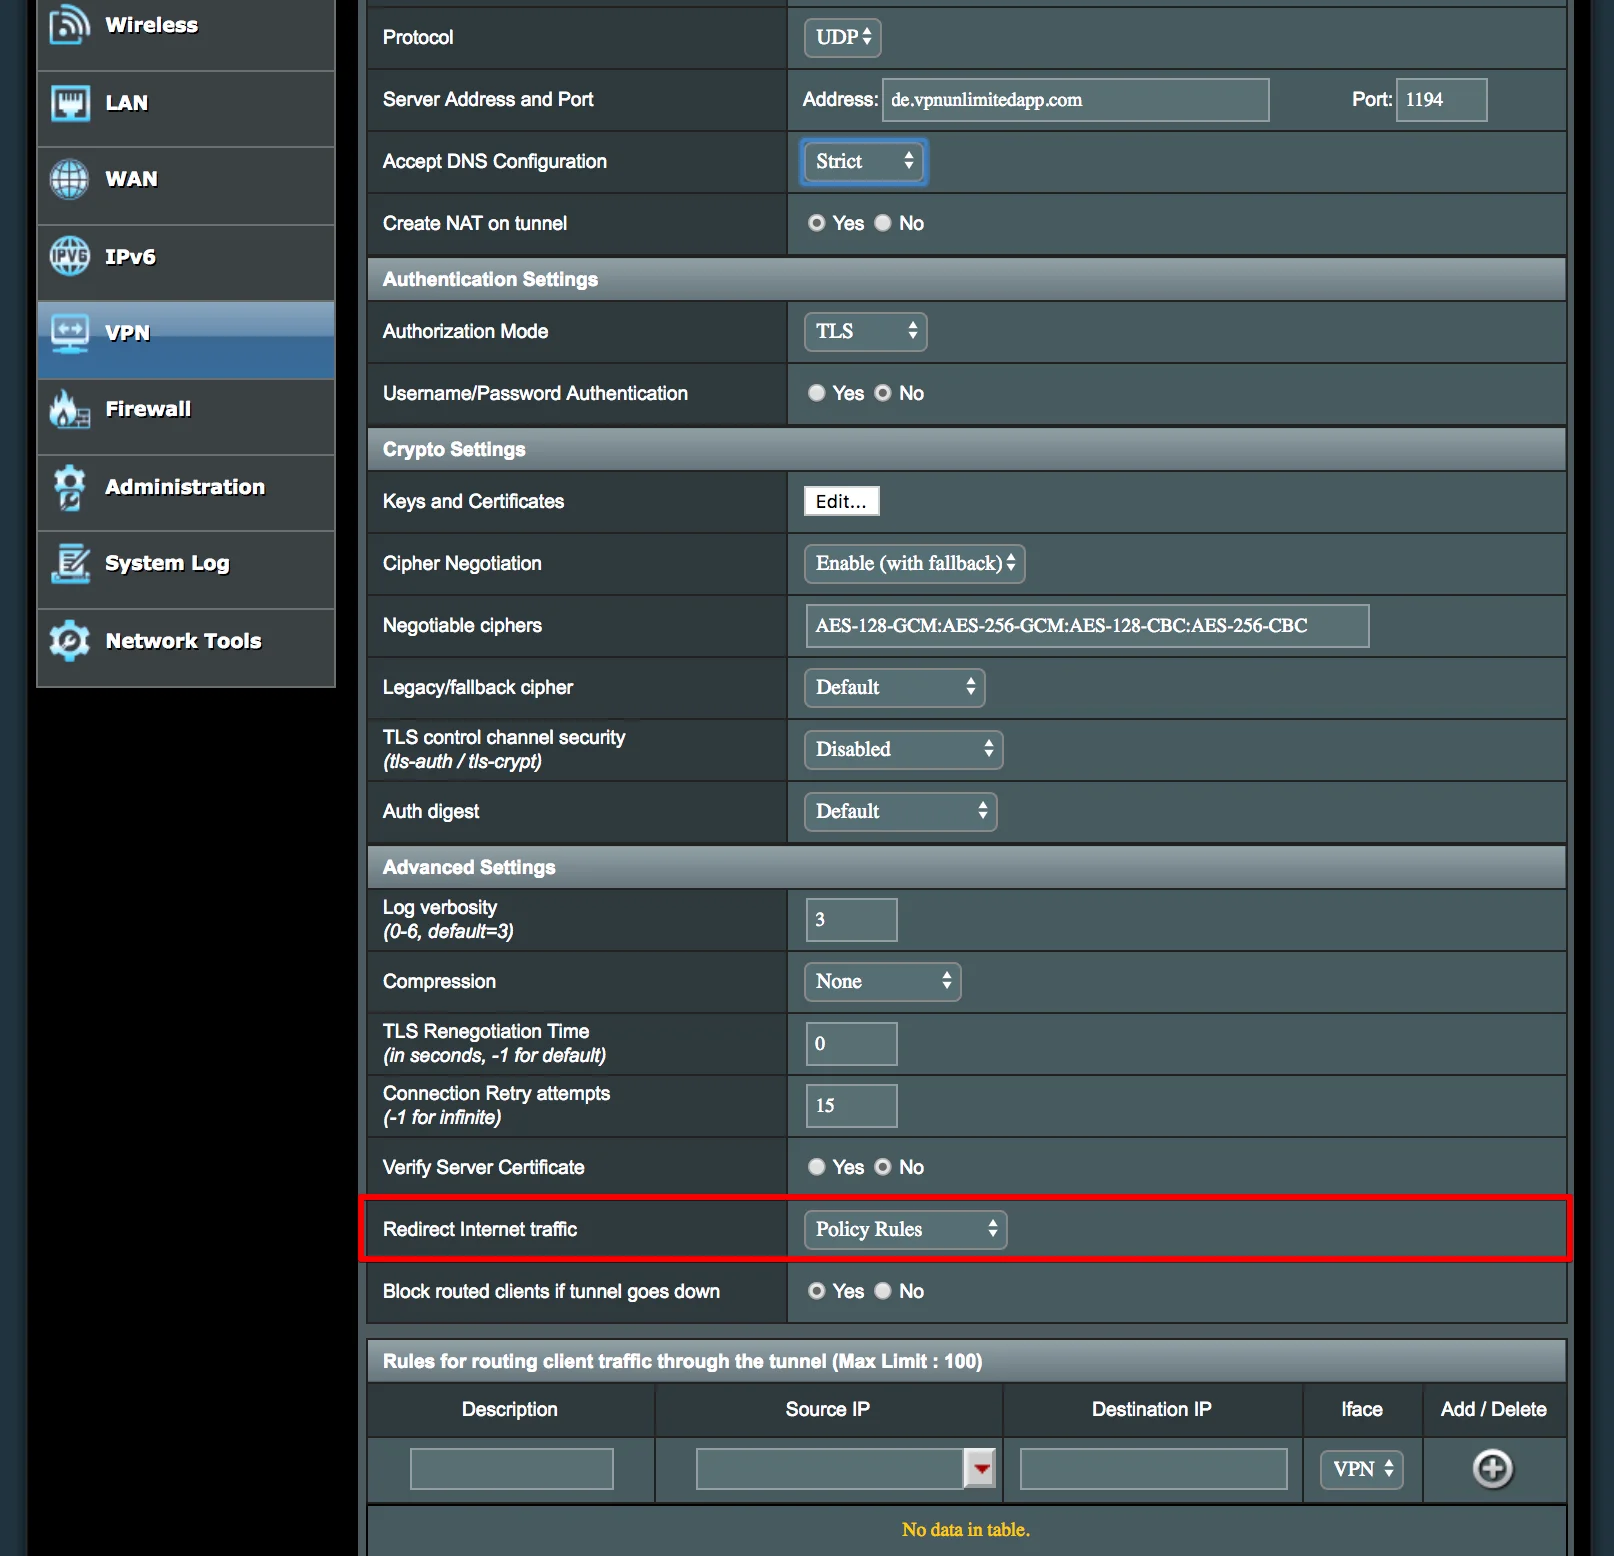
Follow these exact steps to establish a secure tunnel using the built-in interface.
- Log into your router admin panel by entering
192.168.1.1in your browser. - Navigate to VPN then VPN Client and select Add Profile.
- Choose OpenVPN as the protocol type.
- Enter the server address found on the NordVPN server tools page.
- Select User/password authentication and input your service credentials.
- Upload the TLS certificate downloaded from the official NordVPN configs page.
- Set Encryption cipher to AES-256 and Auth algorithm to SHA512.
- Save the profile and click connect to activate the tunnel.
Wait approximately 30 seconds for the connection to establish. A green checkmark indicates your NordVPN router setup is successful and active.
Pro Tip: Use the server lookup tool to find the location with the lowest ping for optimal speed.
Install NordVPN on ASUS Merlin Firmware

ASUS Merlin is a popular third-party firmware that enhances stability and features for compatible ASUS devices. The configuration process is similar but uses a slightly different interface layout.
Detailed Connection Steps
Access your router settings at 192.168.1.1 and go to the VPN Client section. Select OpenVPN and click the Add button to create a new profile.
- Paste the configuration URL or upload the
.ovpnfile provided by NordVPN. - Enter your unique username and password credentials.
- Set Crypt to AES-256-CBC and Auth to SHA512.
- Enable TUN mode and ensure NAT is active.
- Start the connection and monitor the log for success messages.
If the connection fails, double-check that the TLS cipher matches the server requirements. Ensure you have pasted the certificate correctly without any extra spaces or missing characters.
Warning: Never reuse passwords across accounts. Use a unique password for your VPN service to prevent unauthorized access.
Set Up DD-WRT Open Source Firmware
DD-WRT is a powerful open-source option for many mid-tier and older routers. It requires manual entry of several parameters but offers robust control over your network traffic.
Manual Parameter Entry Guide
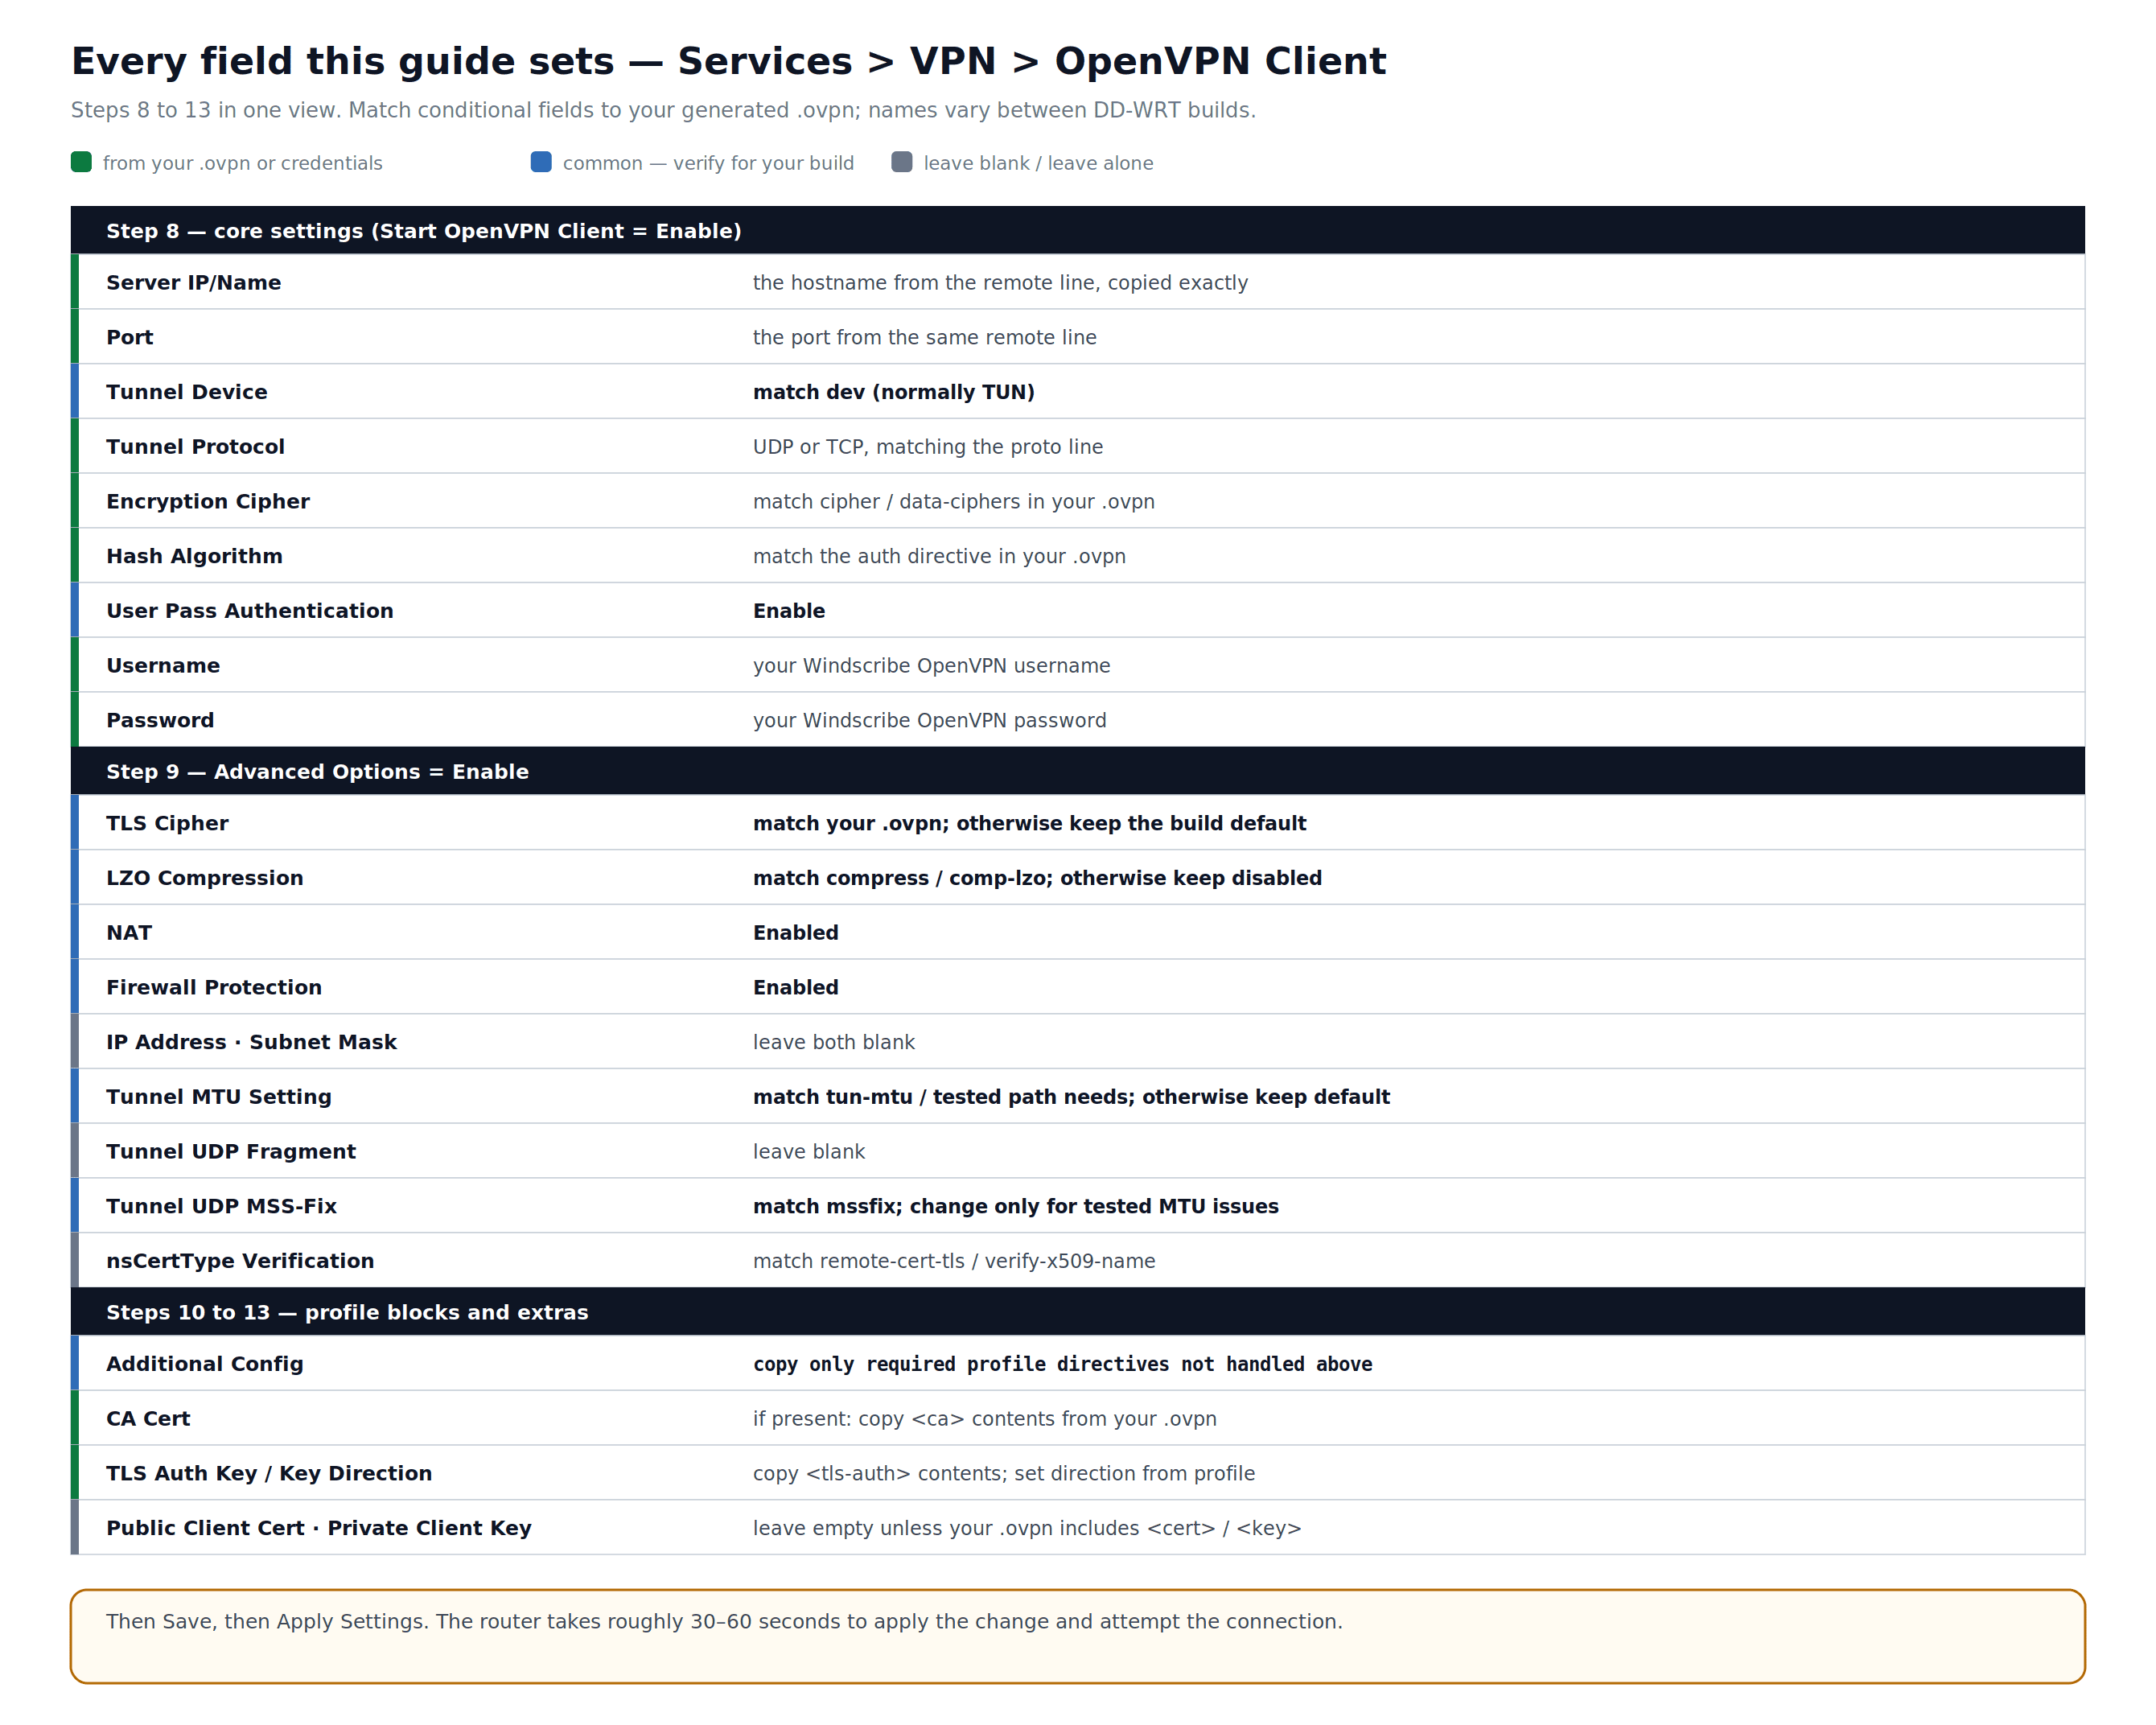
Log into the DD-WRT interface and navigate to Services then VPN. You must enable the Start Client option under the OpenVPN Client section.
- Set Server IP/Name to a specific NordVPN hostname like
us1234.nordvpn.com. - Set the Port to
1194and choose TUN mode with UDP protocol. - Paste the TLS Auth Key and CA Cert from the NordVPN configuration files.
- Input your service Username and Password in the designated fields.
- Set Crypt to AES-256-CBC and Auth to SHA512 in advanced options.
- Disable compression to prevent security vulnerabilities like the CRIME attack.
- Click Apply Settings and then Save to finalize the configuration.
Allow up to one minute for the handshake to complete. You can verify the status under the Status tab to ensure traffic is flowing correctly.
Retrieve Accurate Server Details
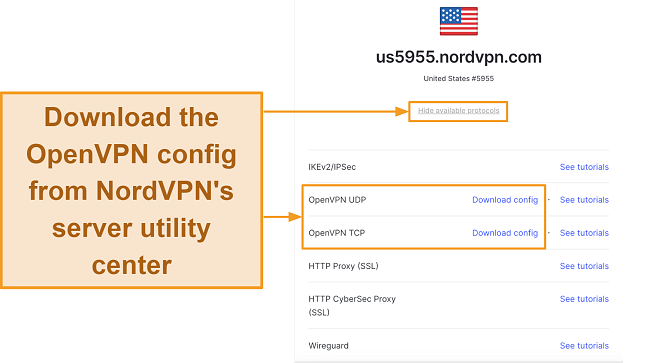
Your configuration will fail without the correct server addresses and certificates. NordVPN provides specific tools to generate these files for your NordVPN router setup.
Locate Hostnames and Certificates
Visit the official server tools page to search for a server by country or city. Click on OpenVPN UDP or TCP to reveal the specific hostname and download links.
- Copy the hostname exactly as shown, such as
de-free-001.nordvpn.com. - Download the full
.ovpnconfig file if your firmware supports file uploads. - Retrieve the CA certificate and TLS auth key from the configs page.
The CA certificate verifies you are connecting to a legitimate NordVPN server rather than an imposter. Always compare SHA256 hashes if you want to ensure absolute file integrity.
Troubleshoot Common Connection Errors
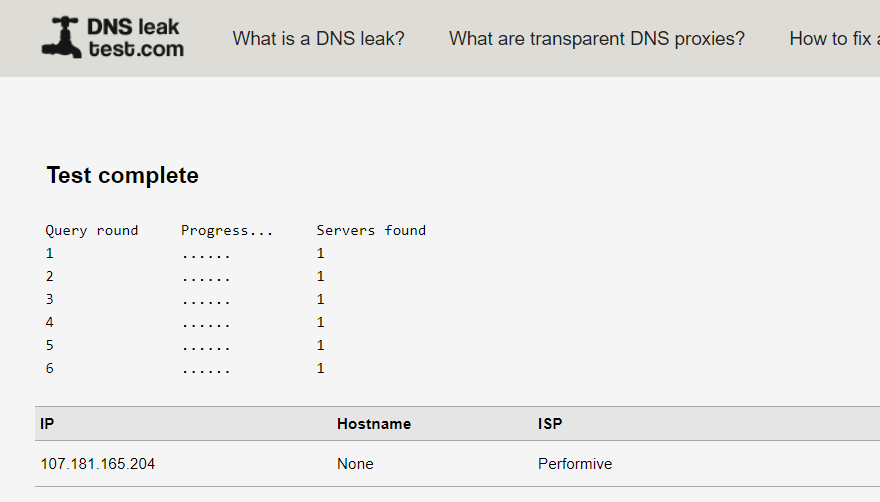
Even with perfect settings, issues like DNS leaks or authentication failures can occur. Understanding these common pitfalls helps you restore connectivity quickly.
Resolve No Internet or Authentication Failures
If you lose internet access after connecting, the issue is likely a routing or DNS conflict.
- Confirm NAT is enabled in your OpenVPN settings.
- Manually set DNS servers to
103.86.96.100and103.86.99.100. - Disable IPv6 in your router settings to prevent leaks outside the tunnel.
An “Authentication Failed” error usually means incorrect credentials. Ensure you are using your service password, not your email login password, and that the TLS cipher is set to SHA512.
Fix Slow Speeds on Router Connections
Router processors are often slower than computers, which can limit VPN speeds. Standard OpenVPN connections may cap around 100 Mbps on average home hardware.
Switch to a ge closer server to reduce latency and improve throughput. If speed is critical, consider upgrading to a pre-flashed router that supports the NordLynx protocol for speeds exceeding 500 Mbps.
Protect All Devices Automatically
Once your NordVPN router setup is complete, every device on your Wi-Fi gains instant protection. This includes smart TVs, gaming consoles, and IoT gadgets that cannot run VPN apps themselves.
Devices That Gain Immediate Security
- Smart TVs for accessing geo-restricted streaming libraries.
- Gaming consoles like PS5 and Xbox for secure online play.
- Streaming sticks such as Fire TV and Roku.
- IoT devices including cameras and thermostats.
You can now access content from different regions without changing settings on individual devices. Connect to a US server to watch American Netflix or a UK server for BBC iPlayer seamlessly.
Expert Tip: Use a pre-flashed FlashRouter to access split tunneling features, allowing you to exclude specific devices like local security cameras from the VPN.
Maintain Router Performance and Security
A working configuration today does not guarantee performance tomorrow. Regular maintenance ensures your network remains fast and secure against emerging threats.
Essential Maintenance Tasks
Check for firmware updates every three months to patch security vulnerabilities. Reboot your router monthly to clear memory leaks and restore optimal speed.
Monitor your OpenVPN status page weekly to ensure the tunnel remains active. If you notice frequent disconnects, switch to a less congested server location immediately.
Frequently Asked Questions About NordVPN Router Setup
Can I install NordVPN on any router?
No, your router must explicitly support the OpenVPN client feature. Most ISP-provided routers do not have this capability, requiring you to use a compatible third-party model or a pre-configured device.
Will a VPN slow down my internet speed on a router?
Yes, encryption adds overhead, and router processors are often slower than computers. Standard OpenVPN may cap speeds around 100 Mbps, while NordLynx on capable hardware can reach much higher speeds.
Do I need to install apps on my smart TV after setup?
No, once the NordVPN router setup is complete, every device connecting to that Wi-Fi is automatically protected. You do not need to install separate applications on smart TVs or consoles.
What happens if my router loses connection to the VPN?
If the VPN tunnel drops, your devices may revert to using your standard ISP connection unless you configure a “kill switch” feature if available on your firmware. Regular monitoring helps prevent data leaks.
Is NordLynx available for manual router setup?
Currently, NordLynx is primarily available on pre-configured routers like the Privacy Hero from FlashRouters. Manual setups typically rely on the OpenVPN protocol due to firmware limitations.
Key Takeaways for a Successful NordVPN Router Setup
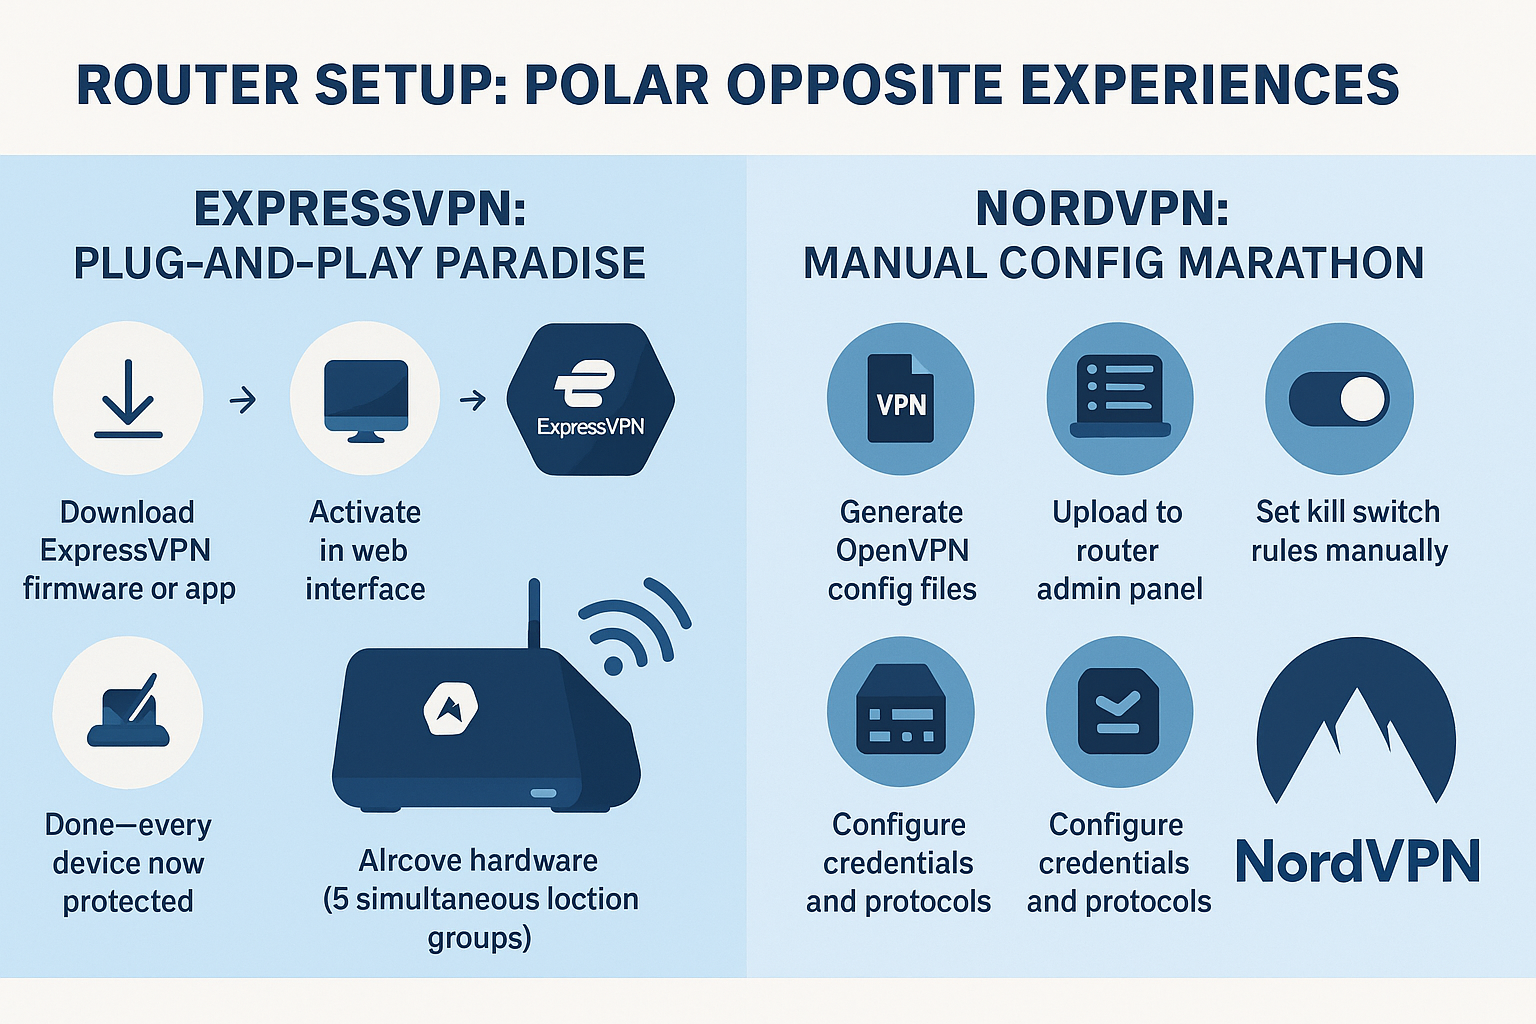
Securing your home network starts with verifying that your router supports the OpenVPN client feature. Follow the specific steps for your firmware type, whether it is ASUS WRT, Merlin, or DD-WRT, to ensure a stable connection.
Regular maintenance including firmware updates and monthly reboots will keep your network running smoothly. If manual configuration feels too complex, consider a pre-flashed router to enjoy NordLynx speeds with zero hassle.