
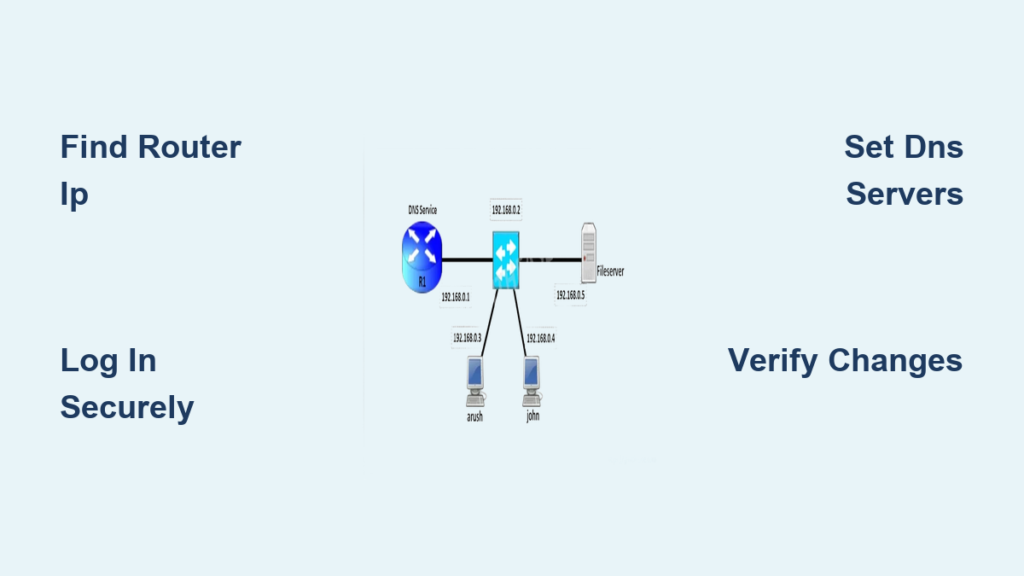
Changing your router DNS settings instantly upgrades speed, privacy, and security for every device on your network. Instead of configuring each phone or laptop individually, a single update at the source protects your entire home automatically.
This guide details exactly how to change DNS on router interfaces from brands like Netgear, Asus, and TP-Link. You will learn to select secure IP addresses, enable encryption features, and troubleshoot common connection issues with confidence.
Find Your Router IP Address and Log In
Accessing the administrative interface is the mandatory first step before modifying any network parameters. You must identify the specific gateway address your router uses to communicate with your local devices.
Locate the Default Gateway on Your Device
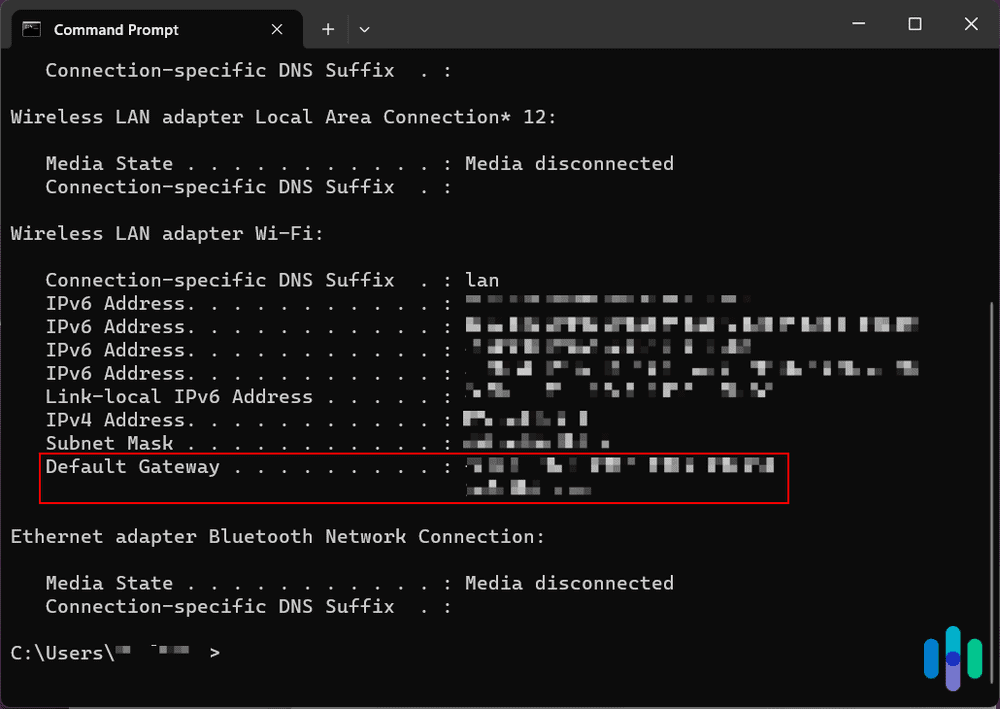
Your computer or mobile device knows the exact address needed to reach the router settings. Use the built-in tools on your operating system to reveal this number quickly.
- Windows: Open Command Prompt, type
ipconfig, and find the Default Gateway entry. - Mac: Navigate to System Settings > Network, select your connection, click Details, and view the Router field.
- Linux: Open a terminal window, run
ip route | grep default, and note the IP following “via”.
Common default addresses include 192.168.1.1 for TP-Link, 192.168.0.1 for Netgear, and 192.168.2.1 for certain Asus models.
Enter Admin Credentials Securely
Type the identified IP address into your web browser address bar to load the login screen. You will need the correct username and password to proceed with configuration changes.
- Check the sticker on the bottom or back of your router for default credentials.
- Common defaults often use admin for both username and password fields.
- Warning: If you previously changed the password and forgot it, you must press the physical reset button to restore factory settings.
Navigate to DNS Configuration Menus
Router interfaces vary significantly between manufacturers, so knowing where to look saves time. The DNS settings are typically housed within the internet or network configuration sections.
Common Menu Paths by Brand
Different brands organize their settings under unique headings within the admin panel. Follow these paths to locate the relevant fields for your specific hardware model.
- Netgear: Go to Internet > Basic Settings.
- Asus: Select WAN then choose the IPv4 or IPv6 tab.
- TP-Link: Navigate to Network > DHCP > DNS Servers.
- MikroTik: Click on IP then select DNS.
- Linksys: Choose Connectivity > Internet > Setup.
Look specifically for input boxes labeled Primary DNS, Secondary DNS, or DNS Server 1/2. If your router currently obtains settings automatically from your ISP, you must switch the mode to Manual or Static before entering new values.
Select Optimal DNS Server Addresses

Choosing the right DNS provider determines whether you prioritize raw speed, malware blocking, or content filtering. Cloudflare offers specific IP addresses tailored to these distinct needs.
Recommended IPv4 and IPv6 Addresses
Select the pair that matches your desired level of protection and filtering. Always enter both the primary and secondary addresses to ensure redundancy if one server fails.
For Fast and Private Browsing:
* Primary: 1.1.1.1
* Secondary: 1.0.0.1
To Block Malware Automatically:
* Primary: 1.1.1.2
* Secondary: 1.0.0.2
To Block Malware and Adult Content:
* Primary: 1.1.1.3
* Secondary: 1.0.0.3
If your network supports IPv6, use the corresponding long-form addresses such as 2606:4700:4700::1111 for the primary fast resolver. These addresses ensure your entire network benefits from improved resolution speeds and enhanced privacy protections.
Apply New DNS Settings to Router
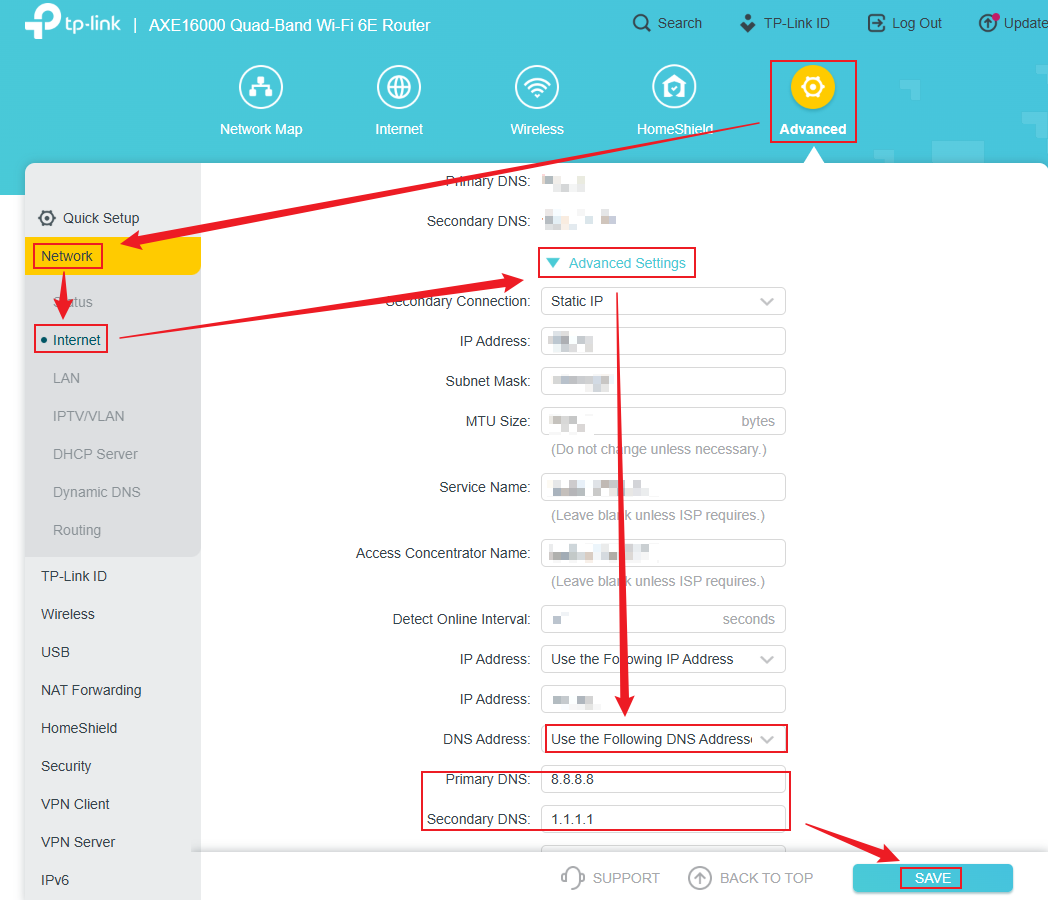
Once you have selected your preferred addresses, you must manually input them into the router interface. This process replaces the default settings provided by your internet service provider.
Step-by-Step Configuration Process
Follow this sequence to ensure the new settings take effect without disrupting your internet connection.
- Write down your current DNS numbers so you can revert if necessary.
- Change the DNS assignment setting from Automatic to Manual or Static.
- Type your chosen primary and secondary IPv4 addresses into the respective fields.
- Repeat the entry process for IPv6 fields if your network utilizes that protocol.
- Click Save, Apply, or OK to commit the changes.
The router may restart briefly to apply the new configuration. This entire process typically takes less than five minutes and requires no technical expertise beyond typing numbers accurately.
Verify DNS Changes Are Active

Testing confirms that your devices are now routing requests through the new servers rather than the old ISP defaults. Verification prevents false confidence in your security setup.
Check DNS Response on Devices
Use command-line tools on your computer to see which server is currently answering your domain requests.
- Windows: Open Command Prompt and type
nslookup google.com. The “Server” line shows your active DNS. - Mac/Linux: Open Terminal and type
dig google.com. Look for the “SERVER” line in the output.
You can also visit the Cloudflare help page at 1.1.1.1/help in any browser. This tool instantly displays your current DNS resolver IP and confirms if malware filtering or encryption is active.
Configure Advanced Encryption on Specialized Routers
Some advanced router firmware supports DNS over TLS (DoT), which encrypts your DNS queries to prevent eavesdropping. This feature adds a significant layer of privacy beyond standard DNS changes.
Enable DNS Over TLS on FRITZ!Box
FRITZ!Box routers running FRITZ!OS 7.20 or newer support encrypted DNS natively. This prevents your ISP from seeing which websites you are resolving.
- Navigate to Internet > Account Information > DNS Tab.
- Enable the option to Use custom DNS servers.
- Enter
1.1.1.1and1.0.0.1in the provided fields. - Check the box to Use DNS over TLS for encrypted queries.
- Click Apply to save the secure configuration.
Set Up Unbound on OpenWrt Routers
OpenWrt users can install the Unbound package to achieve full DNS encryption capabilities. This requires accessing the router via SSH or the LuCI web interface.
- Update your package list and install the resolver using
opkg install unbound-resolver. - Configure Unbound to forward queries securely to Cloudflare IPs.
- Disable the default dnsmasq DNS handler or configure it to forward to Unbound.
Refer to official documentation for “Adding DNS-Over-TLS support to OpenWrt” for detailed command syntax. This advanced setup ensures maximum privacy for all network traffic.
Troubleshoot Common DNS Connection Issues
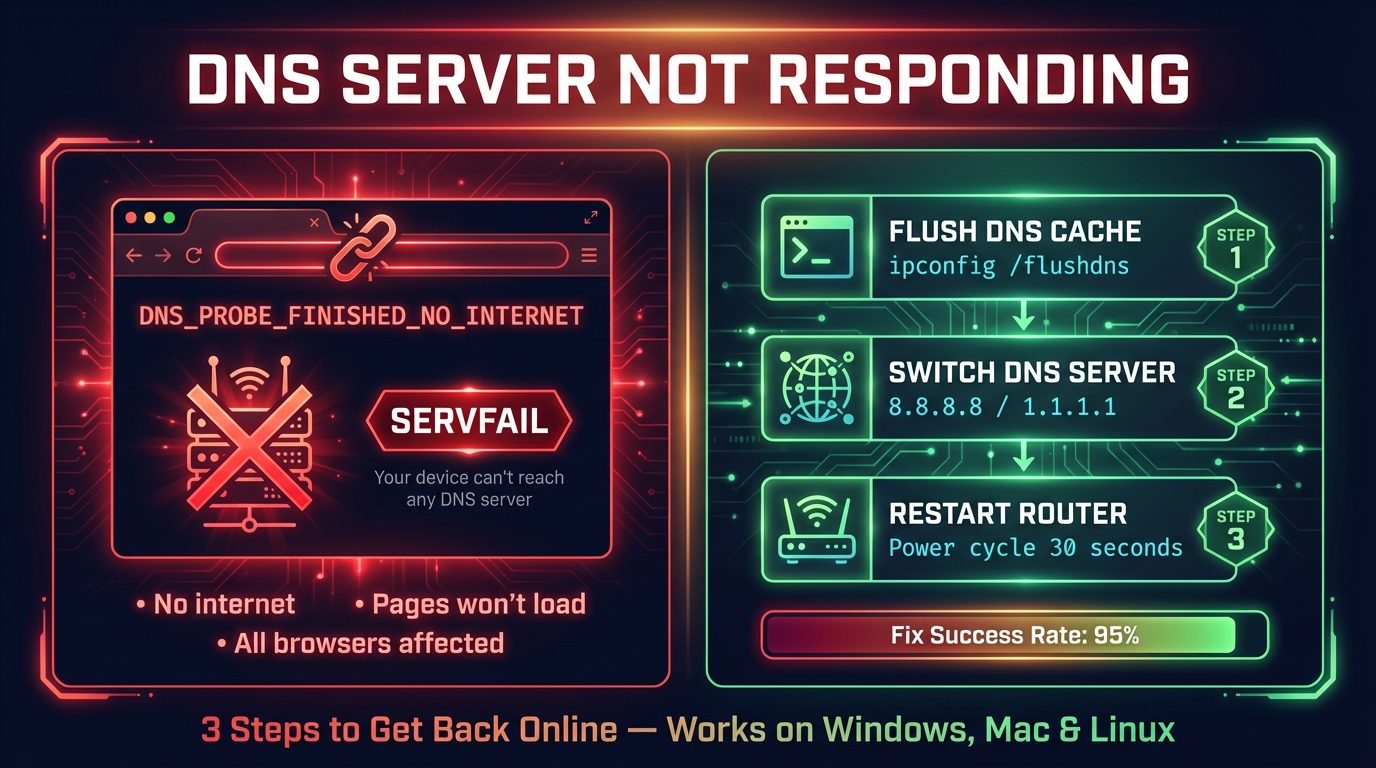
Occasionally, changing DNS settings can cause temporary connectivity problems or fail to apply correctly. Understanding these common pitfalls helps you resolve them quickly.
Restore Internet If Connection Fails
If you lose internet access immediately after saving, the new DNS addresses might be unreachable or typed incorrectly.
- Reconnect to the router using an Ethernet cable if possible.
- Revert to your original DNS settings or try Google DNS (
8.8.8.8). - Ensure you did not leave any DNS fields blank before saving.
Fix Devices Ignoring New Settings
Sometimes individual devices cache old DNS information or override router settings.
- Restart your router and all connected devices to clear caches.
- On Windows, run
ipconfig /flushdnsto clear the local DNS cache. - On mobile devices, toggle Airplane mode on and off to force a network refresh.
If settings reset after a reboot, check if your ISP is forcing DNS via DHCP and look for an “Ignore DNS from WAN” option in your router.
Frequently Asked Questions About Changing Router DNS
Will changing DNS on my router speed up my internet?
It can improve browsing speed by reducing the time it takes to resolve domain names. However, it will not increase your maximum download bandwidth if your ISP connection is slow.
Do I need to change settings on every device individually?
No. Changing the DNS on your router automatically applies the setting to every phone, laptop, and smart TV connected to your Wi-Fi network.
Is using 1.1.1.1 safer than my ISP DNS?
Yes, providers like Cloudflare promise not to log your browsing data, whereas many ISPs track and sell this information. It also offers built-in malware blocking options.
What happens if the new DNS server goes down?
If you enter both primary and secondary addresses, your router will switch to the secondary server if the primary fails. This redundancy ensures continuous internet access.
Can I revert to my original settings if I don’t like the change?
Yes. Simply log back into your router admin page and select “Automatic” for DNS settings or re-enter your original ISP-provided numbers.
Key Takeaways for Changing DNS on Your Router
Updating your router DNS is a simple yet powerful way to enhance network performance and security for your entire home. By selecting the right IP addresses, you gain protection against malware and prevent ISP tracking without installing extra software.
Remember to record your original settings before making changes and always test your connection afterward. Take action today by logging into your router and switching to a faster, more private DNS provider.



